——
#DonLucElectronics #DonLuc #MiniMP3Player #FireBeetle2ESP32E #ESP32 #DFRobot #Display #IoT #Project #Fritzing #Programming #Electronics #Microcontrollers #Consultant
——
——
——
——
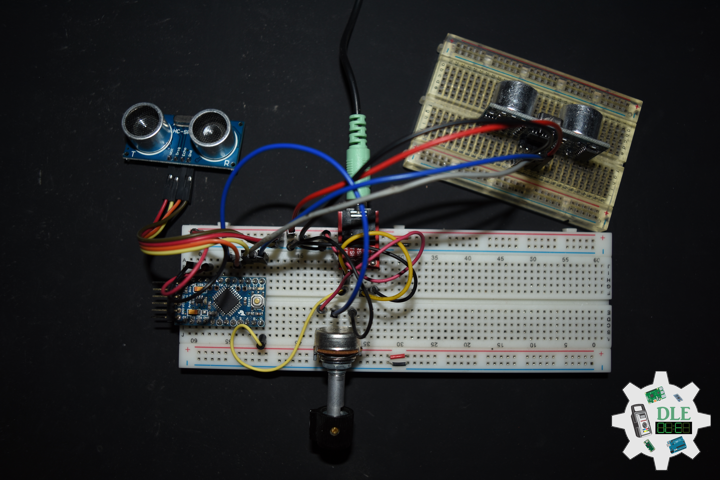
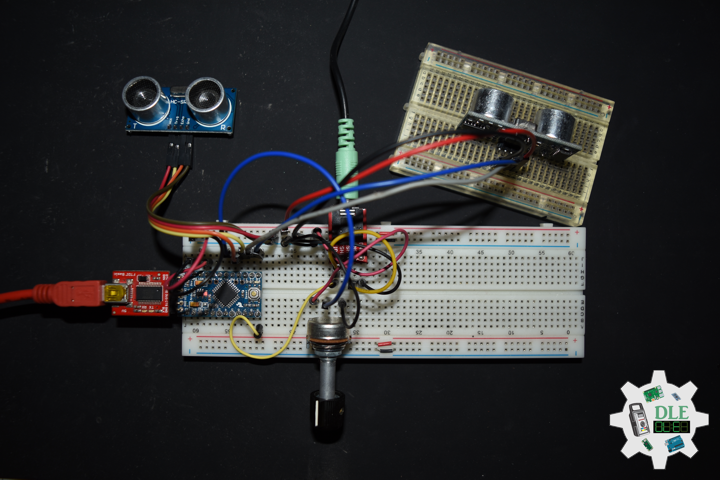
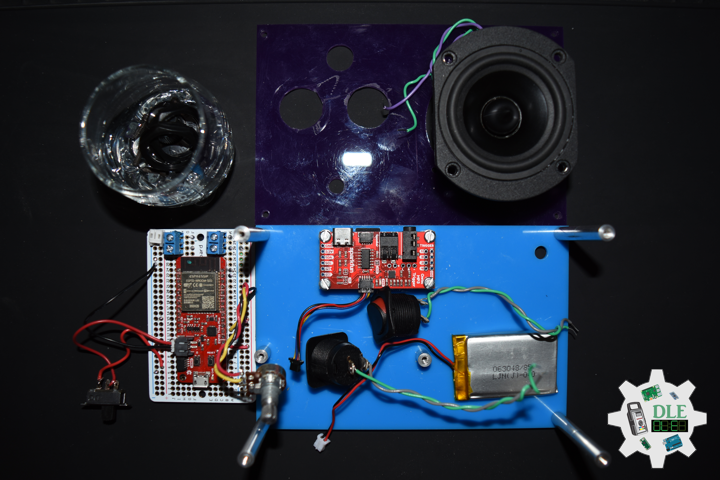
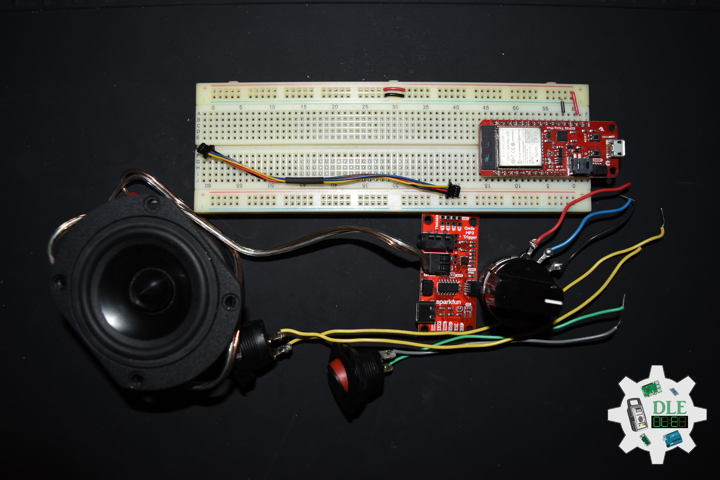
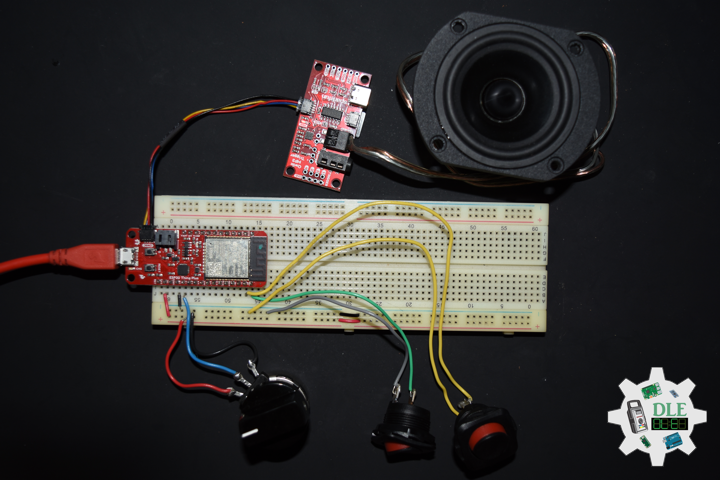
FireBeetle 2 ESP32-E
FireBeetle 2 ESP32-E, specially designed for IoT, is an ESP-WROOM-32E-based main controller board with dual-core chips. FireBeetle 2 ESP32-E supports Arduino programming, support Scratch graphical programming and MicroPython programming. We provide you with detailed online tutorials and application cases, and there are thousands of sensors with welding-free Gravity interfaces and actuators to help you get started easily. Besides, the stamp hole design makes it able to be easily embedded in your PCB, greatly saving your costs and time to build and test a prototype.
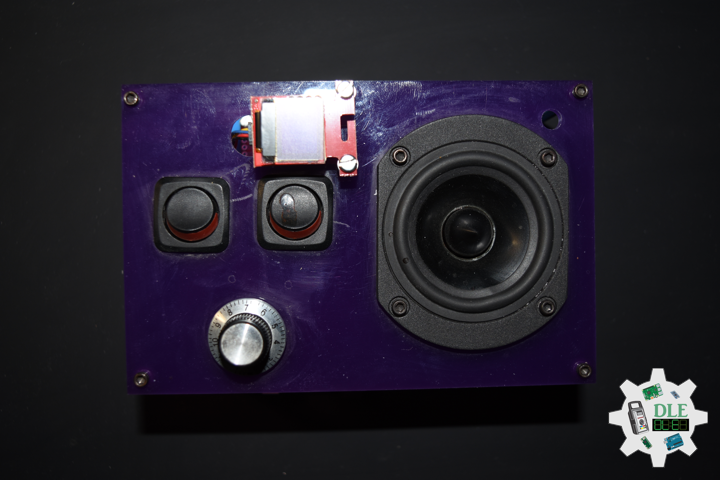
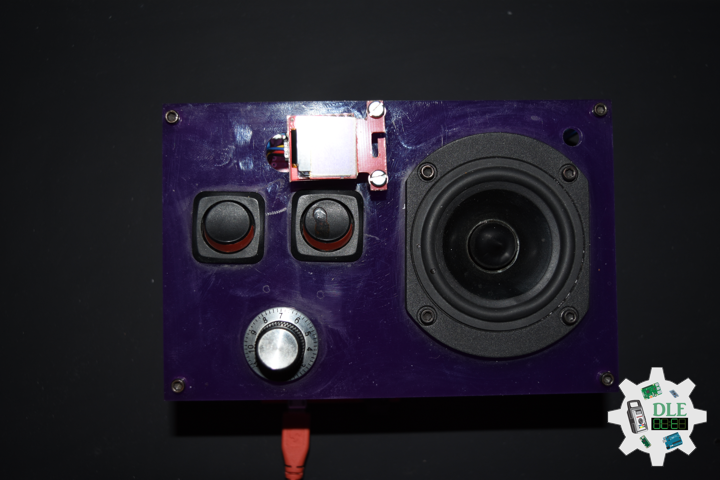
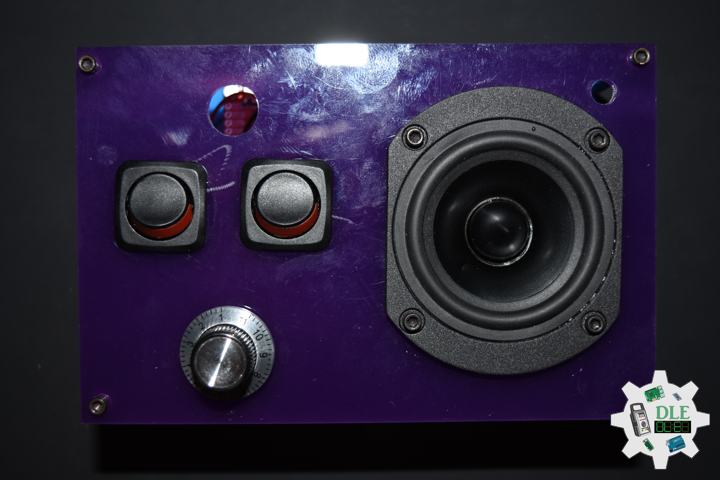
Gravity: Digital Push Button (Red)
Digital push button with LED, wide voltage range, durable design, and easy plug-and-play functionality. Comes with a cable and features a gold surface.
Gravity: Analog Rotation Potentiometer Sensor
This Arduino-compatible rotation potentiometer rotates 300 degrees, allowing easy interaction and MIDI production with expansion boards; works on 3.3V-5V.
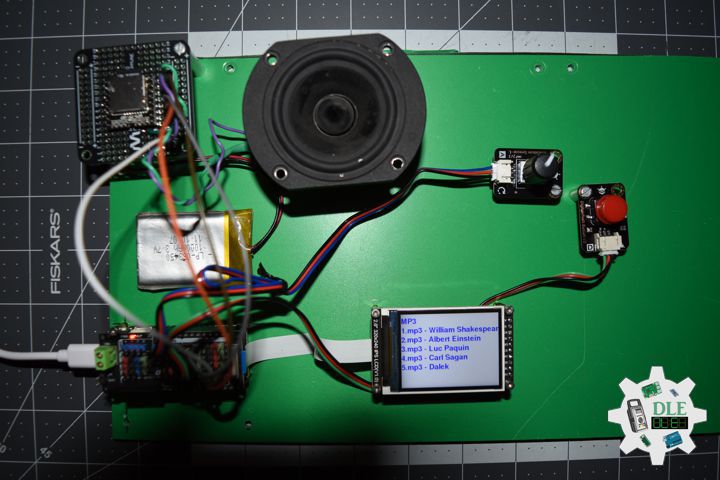
MP3
1.mp3 – William Shakespeare
2.mp3 – Albert Einstein
3.mp3 – Luc Paquin
4.mp3 – Carl Sagan
5.mp3 – Dalek
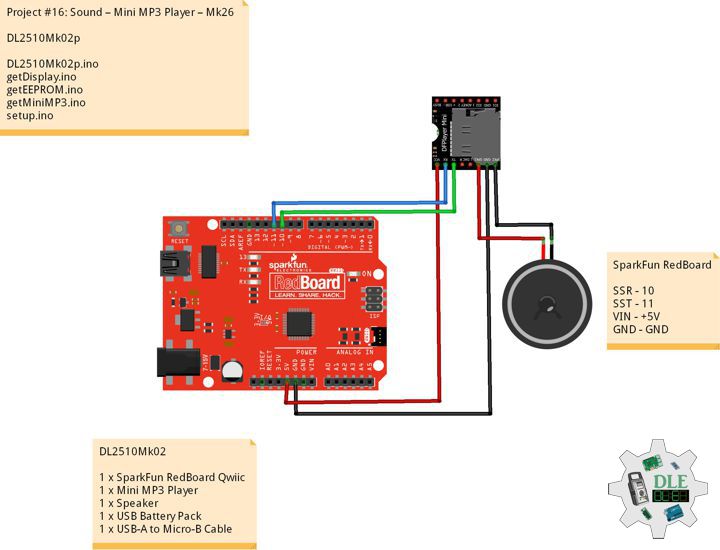
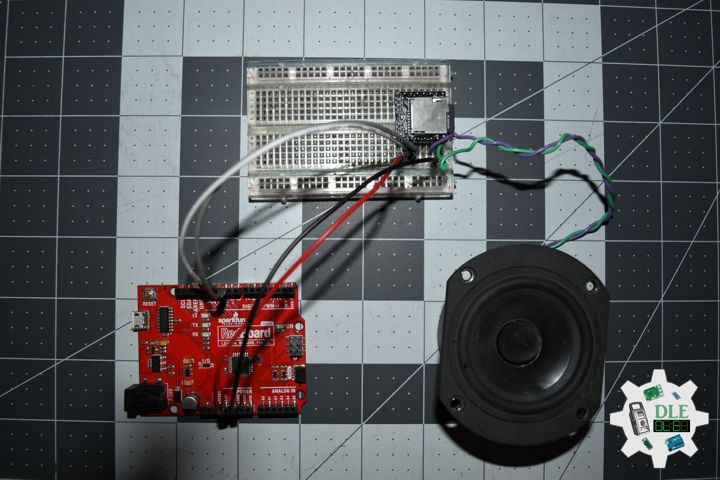
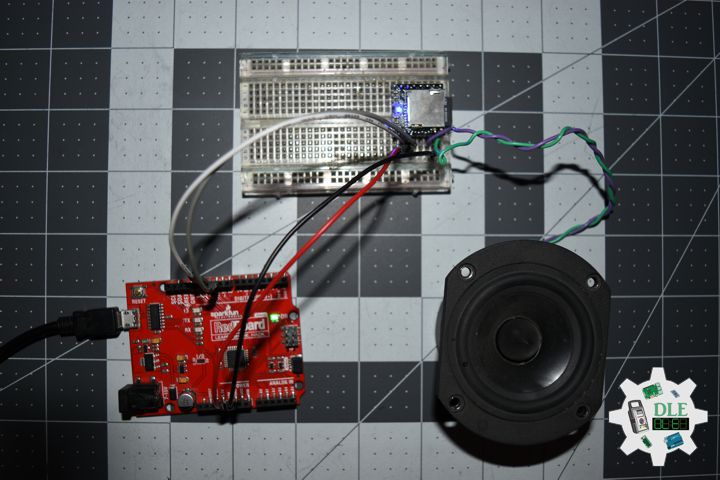
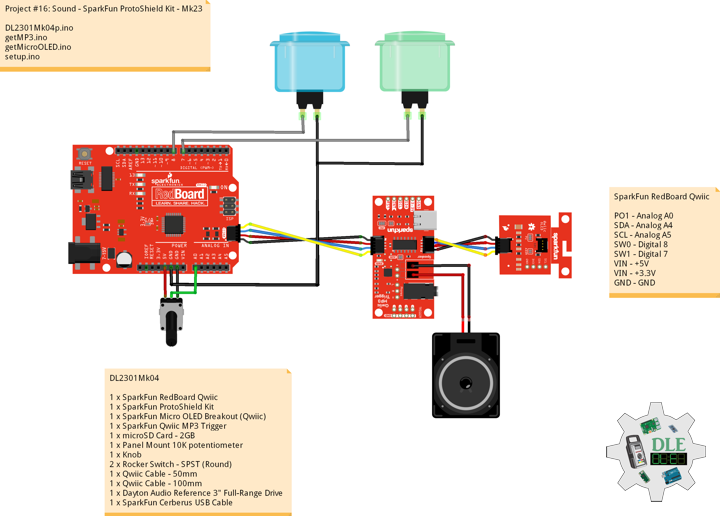
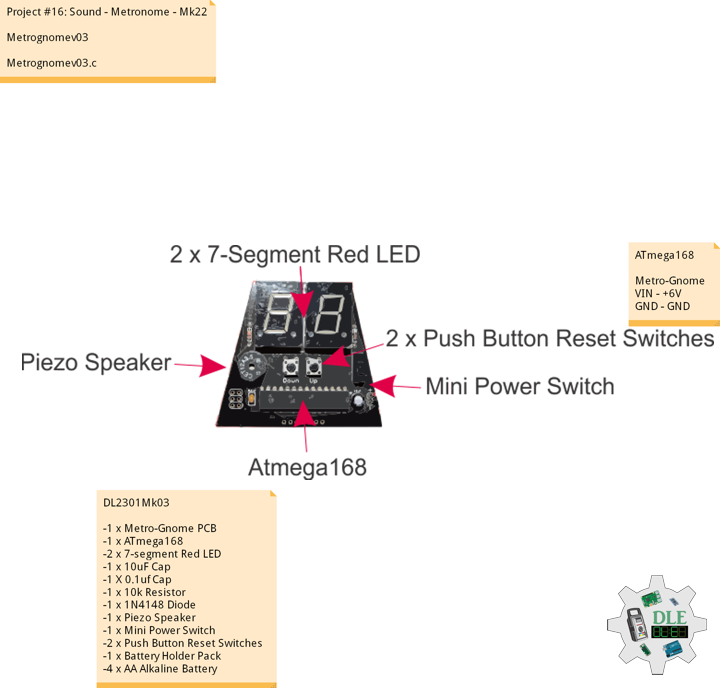
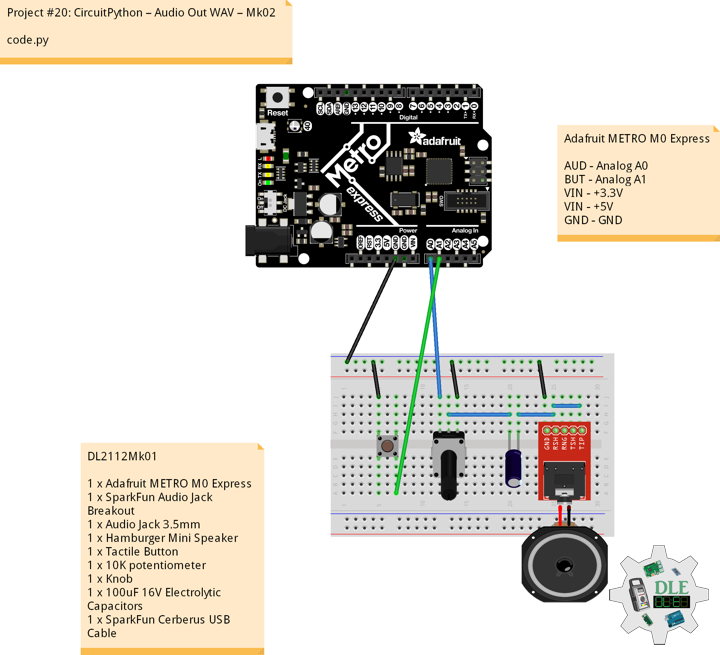
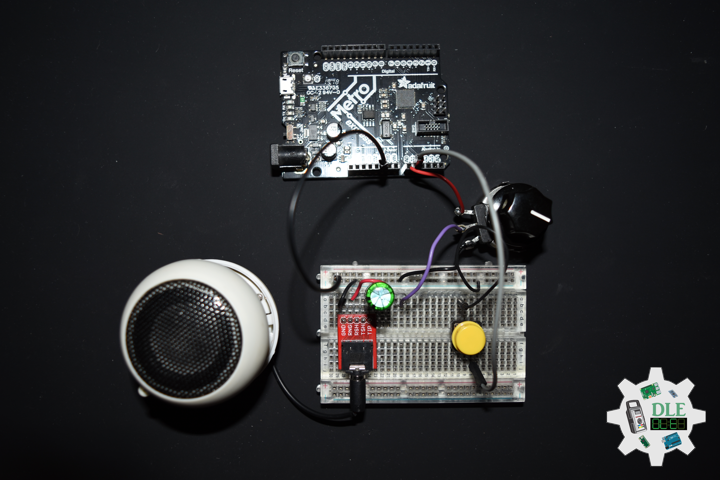
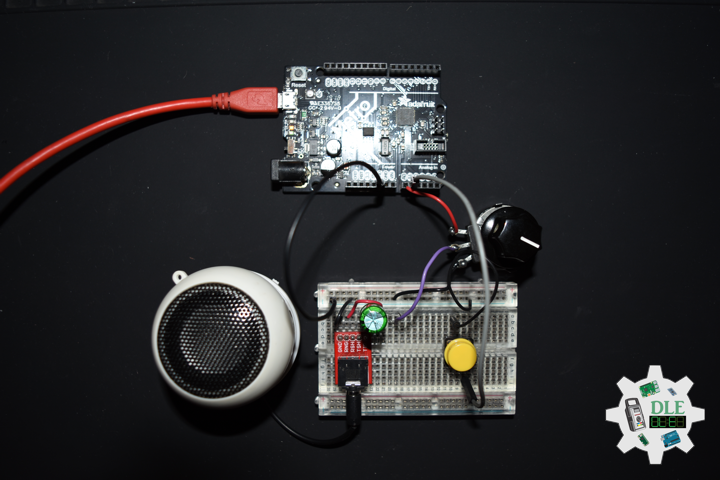
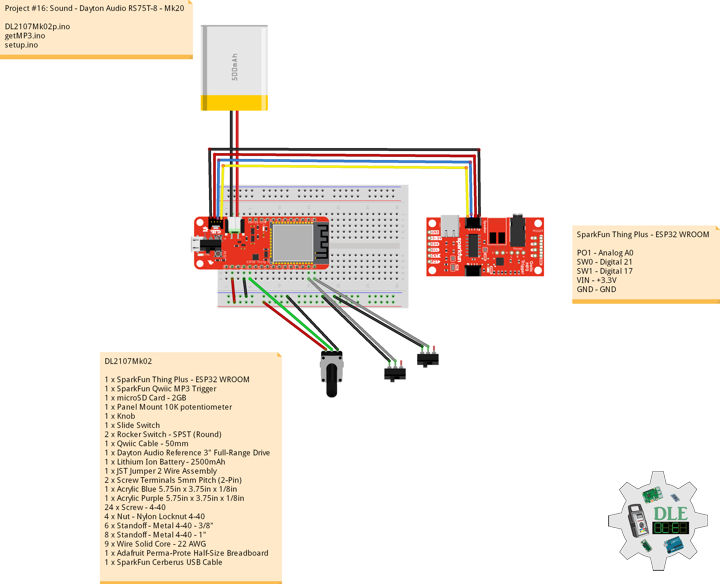
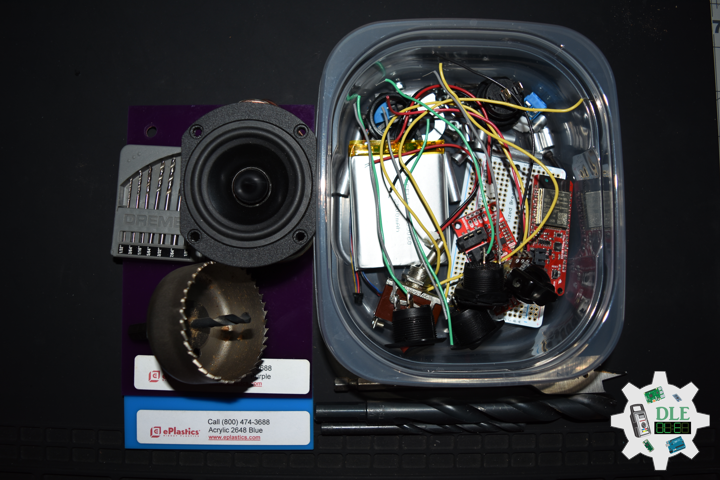
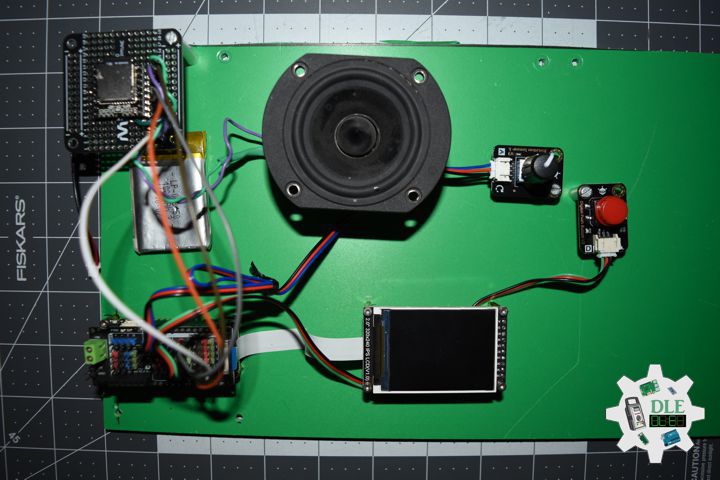
DL2510Mk03
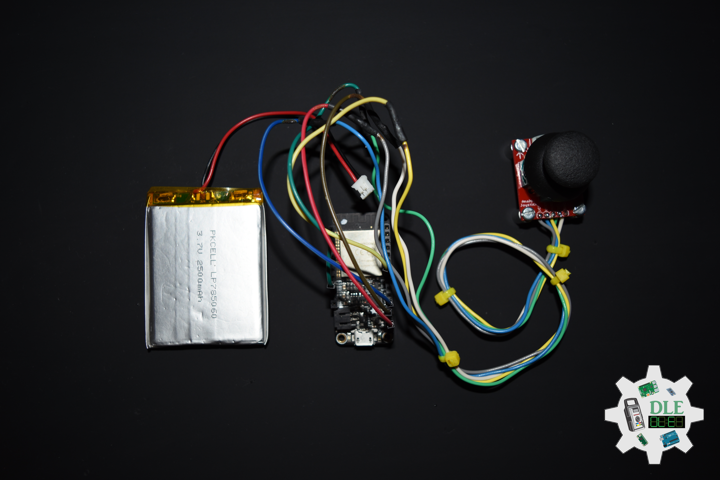
1 x DFRobot FireBeetle 2 ESP32-E
1 x Fermion: 2.0″ 320×240 IPS TFT LCD
1 x GDL Line 10 CM
1 x Gravity: IO Shield for FireBeetle 2
1 x Mini MP3 Player
1 x 1K Ohm Resistor
1 x Speaker
1 x Gravity: Analog Rotation Potentiometer
1 x Gravity: Digital Push Button (Red)
1 x Lithium Ion Battery – 1000mAh
1 x Switch
1 x SPDT Slide Switch
1 x USB-A to Micro-B Cable
DL2510Mk03p
DL2510Mk03p.ino
/****** Don Luc Electronics © ******
Software Version Information
Project #16: Sound – ESP32 – Mk27
16-27
DL2509Mk03p.ino
DL2509Mk03
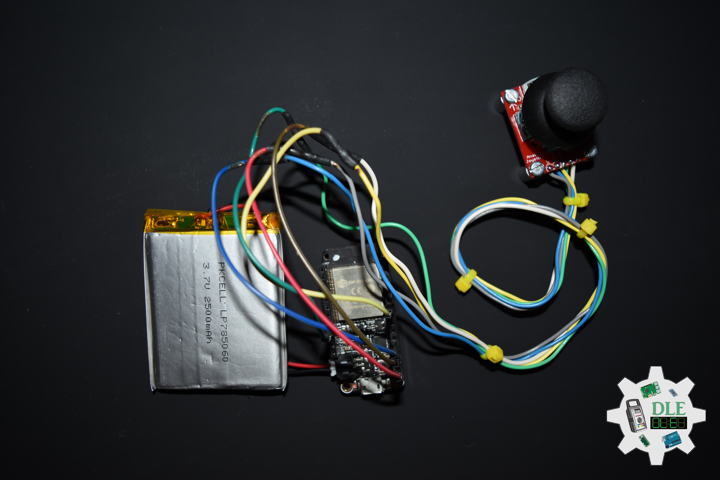
1 x DFRobot FireBeetle 2 ESP32-E
1 x Fermion: 2.0" 320x240 IPS TFT LCD
1 x GDL Line 10 CM
1 x Gravity: IO Shield for FireBeetle 2
1 x Mini MP3 Player
1 x 1K Ohm Resistor
1 x Gravity: Analog Rotation Potentiometer
1 x Gravity: Digital Push Button (Red)
1 x Speaker
1 x Lithium Ion Battery - 1000mAh
1 x Switch
1 x SPDT Slide Switch
1 x USB-A to Micro-B Cable
*/
// Include the Library Code
// EEPROM Library to Read and Write EEPROM
// with Unique ID for Unit
#include "EEPROM.h"
// Arduino
#include "Arduino.h"
// DFRobot Display GDL API
#include <DFRobot_GDL.h>
// DFRobot DFPlayer Mini
#include "DFRobotDFPlayerMini.h"
// FPSerial
#define FPSerial Serial1
// DFRobot DFPlayer Mini
DFRobotDFPlayerMini myDFPlayer;
// Button R
int iButR = D12;
int iValR;
// Volume Potentiometer
int iVolPot = A0;
int iValV;
// Defined ESP32
#define TFT_DC D2
#define TFT_CS D6
#define TFT_RST D3
/*dc=*/ /*cs=*/ /*rst=*/
// DFRobot Display 240x320
DFRobot_ST7789_240x320_HW_SPI screen(TFT_DC, TFT_CS, TFT_RST);
// EEPROM Unique ID Information
#define EEPROM_SIZE 64
String uid = "";
// Software Version Information
String sver = "16-27";
void loop() {
// isMP3
isMP3();
// isDisplayMP3
isDisplayMP3();
// Delay
delay( 200 );
}
getDisplay.ino
// DFRobot Display 240x320
// DFRobot Display 240x320 - UID
void isDisplayUID(){

  // DFRobot Display 240x320
  // Text Display
  // Text Wrap
  screen.setTextWrap(false);
  // Rotation
  screen.setRotation(3);
  // Fill Screen => black
  screen.fillScreen(0x0000);
  // Text Color => white
  screen.setTextColor(0xffff);
  // Font => Free Sans Bold 12pt
  screen.setFont(&FreeSansBold12pt7b);
  // TextSize => 1.5
  screen.setTextSize(1.5);
  // Don Luc Electronics
  screen.setCursor(0, 30);
  screen.println("Don Luc Electronics");
  // SD
  screen.setCursor(0, 60);
  screen.println("GDFPlayer Mini");
  // Version
  screen.setCursor(0, 90);
  screen.println("Version");
  screen.setCursor(0, 120);
  screen.println( sver );
  // EEPROM
  screen.setCursor(0, 150);
  screen.println("EEPROM");
  screen.setCursor(0, 180);
  screen.println( uid );

}
// isDisplayMP3
void isDisplayMP3(){

  // DFRobot Display 240x320
  // Text Display
  // Text Wrap
  screen.setTextWrap(false);
  // Rotation
  screen.setRotation(3);
  // Fill Screen => white
  screen.fillScreen(0xffff);
  // Text Color => blue
  screen.setTextColor(0x001F);
  // Font => Free Sans Bold 12pt
  screen.setFont(&FreeSansBold12pt7b);
  // TextSize => 1.5
  screen.setTextSize(1.5);
  // Geiger
  screen.setCursor(0, 30);
  screen.println("MP3");
  // 1.mp3 - William Shakespeare
  screen.setCursor(0, 60);
  screen.println("1.mp3 - William Shakespeare");
  // 2.mp3 - Albert Einstein
  screen.setCursor(0, 90);
  screen.println( "2.mp3 - Albert Einstein" );
  // 3.mp3 - Luc Paquin
  screen.setCursor(0, 120);
  screen.println( "3.mp3 - Luc Paquin" );
// 4.mp3 - Carl Sagan
  screen.setCursor(0, 150);
  screen.println( "4.mp3 - Carl Sagan" );
 // 5.mp3 - Dalek
  screen.setCursor(0, 180);
  screen.println( "5.mp3 - Dalek" );

}
getEEPROM.ino
// EEPROM
// isUID EEPROM Unique ID
void isUID() {

  // Is Unit ID
  uid = "";
  for (int x = 0; x < 7; x++)
  {
    uid = uid + char(EEPROM.read(x));
  }

}
getMiniMP3.ino
// Mini MP3
// isSetupMP3
void isSetupMP3(){

  // Mini MP3
  // isACK
  // doReset
  myDFPlayer.begin(FPSerial, true, true);

  // Set serial communictaion time out 500ms
  myDFPlayer.setTimeOut(500);

}
// isMP3
void isMP3(){

  // Volume Potentiometer
  iValV = analogRead(iVolPot);

  // Mapping function
  iValV = map(iValV, 0, 4095, 0, 30);

  // Set volume value. From 0 to 30
  myDFPlayer.volume( iValV );

  // iValR
  iValR = digitalRead(iButR);

  // Check high iButR is pressed down.
  if (iValR == HIGH) {

    // Play next mp3
    myDFPlayer.next();

  }

}
setup.ino
// Setup
void setup()
{

  // Delay
  delay( 100 );

  // EEPROM Size
  EEPROM.begin(EEPROM_SIZE);

  // EEPROM Unique ID
  isUID();

  // Delay
  delay( 100 );

  // FPSerial
  // rx
  // tx
  FPSerial.begin(9600, SERIAL_8N1, D7, D5);

  // Delay
  delay( 100 );

  // Button R
  pinMode(iButR, INPUT);

  // Delay
  delay(100);

  // isSetupMP3
  isSetupMP3();

  // Delay
  delay(100);

  // DFRobot Display 240x320
  screen.begin();

  // Delay
  delay(100);

  // DFRobot Display 240x320 - UID
  // Don Luc Electronics
  // Version
  // EEPROM
  isDisplayUID();

  // Delay 5 Second
  delay( 5000 );


}
——
People can contact us: https://www.donluc.com/?page_id=1927
Consultant, R&D, Electronics, IoT, Teacher and Instructor
- Programming Language
- Single-Board Microcontrollers (PIC, Arduino, Raspberry Pi, Arm, Silicon Labs, Espressif, Etc…)
- IoT
- Wireless (Radio Frequency, Bluetooth, WiFi, Etc…)
- Robotics
- Automation
- Camera and Video Capture Receiver Stationary, Wheel/Tank , Underwater and UAV Vehicle
- Unmanned Vehicles Terrestrial, Marine and UAV
- Machine Learning
- Artificial Intelligence (AI)
- RTOS
- Sensors, eHealth Sensors, Biosensor, and Biometric
- Research & Development (R & D)
- Consulting
Follow Us
Luc Paquin – Curriculum Vitae – 2024
https://www.donluc.com/luc/
Web: https://www.donluc.com/
Facebook: https://www.facebook.com/neosteam.labs.9/
YouTube: https://www.youtube.com/@thesass2063
Twitter: https://twitter.com/labs_steam
Pinterest: https://www.pinterest.com/NeoSteamLabs/
Instagram: https://www.instagram.com/neosteamlabs/
DFRobot: https://learn.dfrobot.com/user-10186.html
Elecrow: https://www.elecrow.com/share/sharepj/center/no/760816d385ebb1edc0732fd873bfbf13
TikTok: https://www.tiktok.com/@luc.paquin8
Hackster: https://www.hackster.io/luc-paquin
LinkedIn: https://www.linkedin.com/in/jlucpaquin/
Don Luc