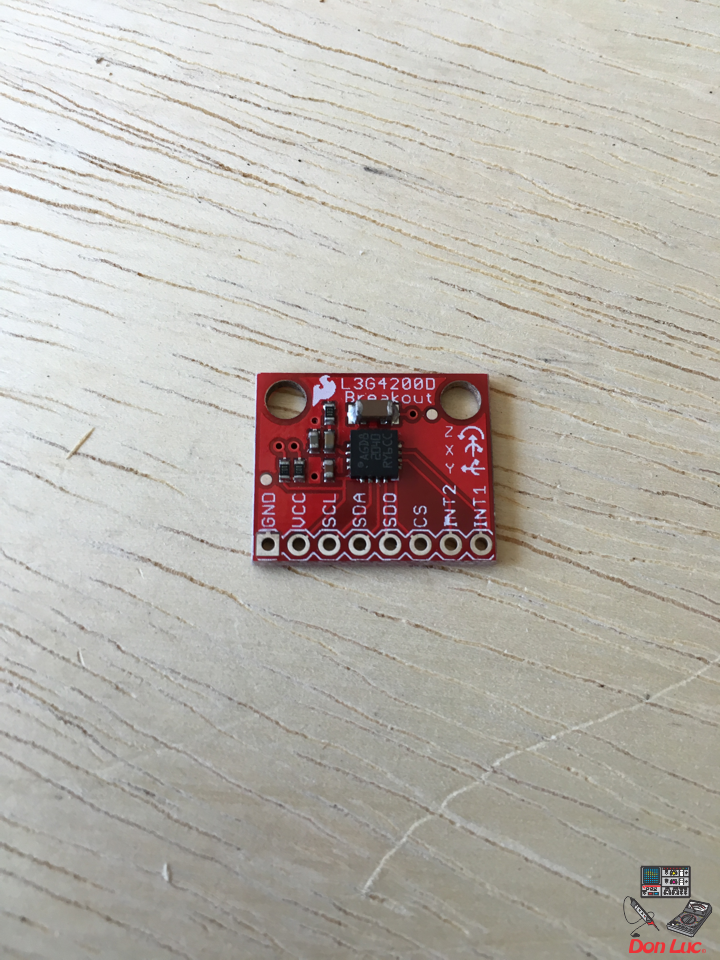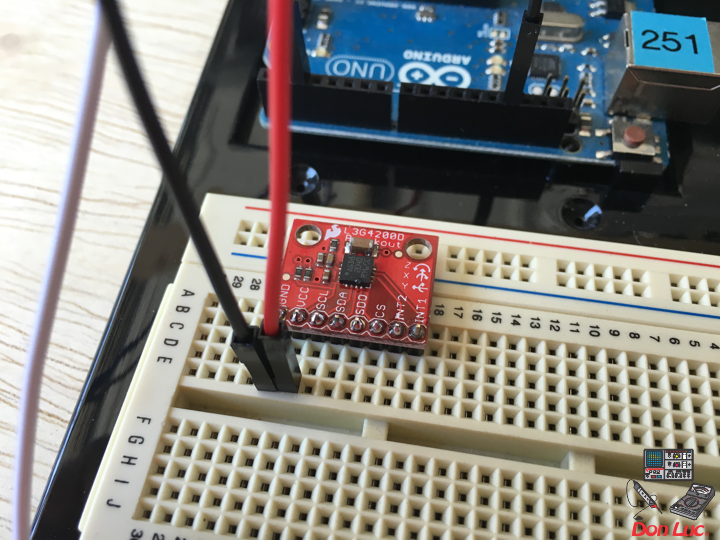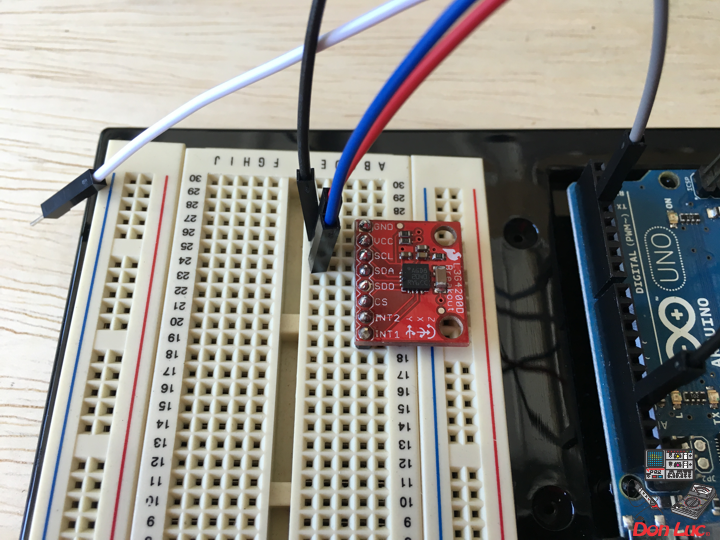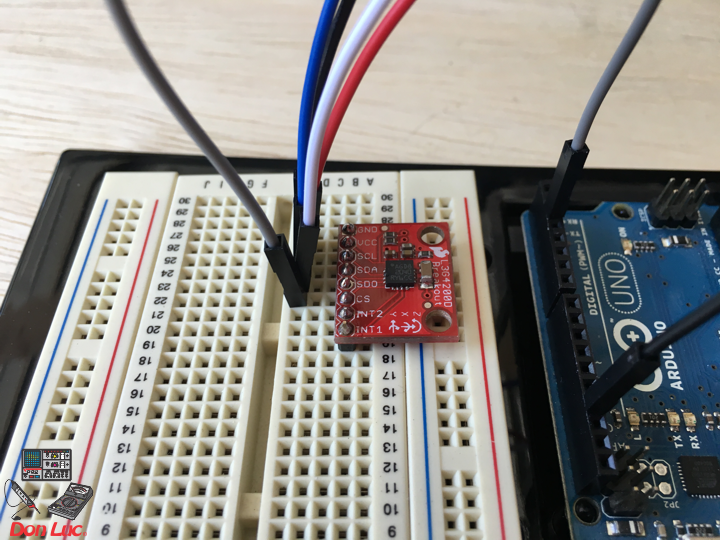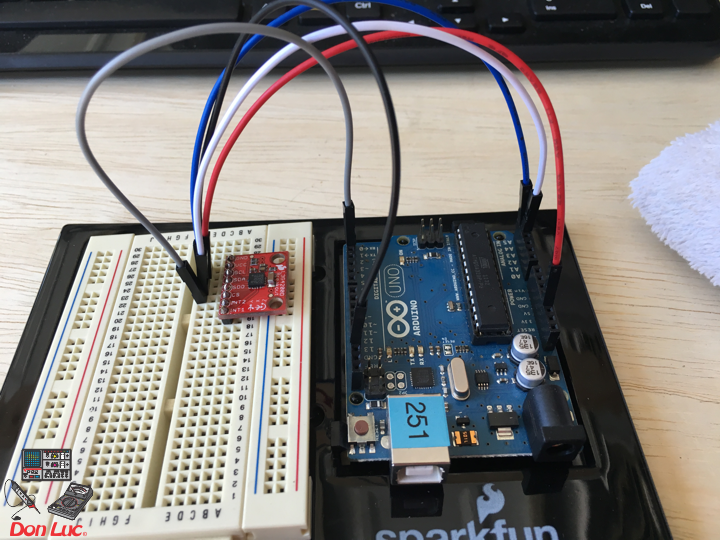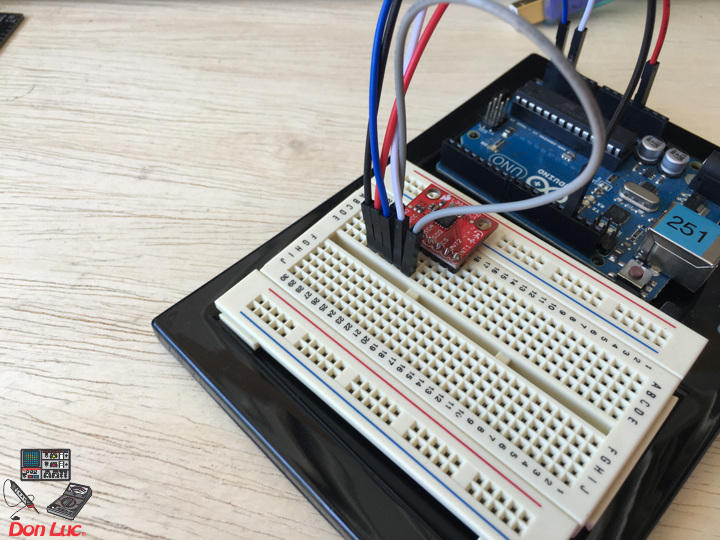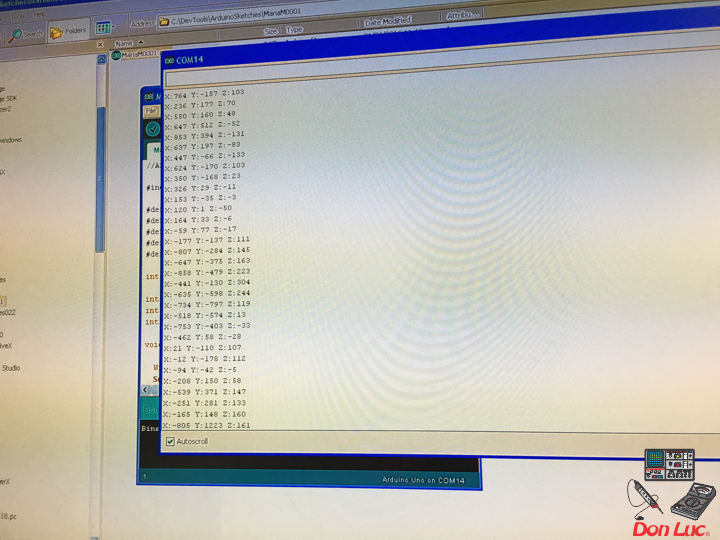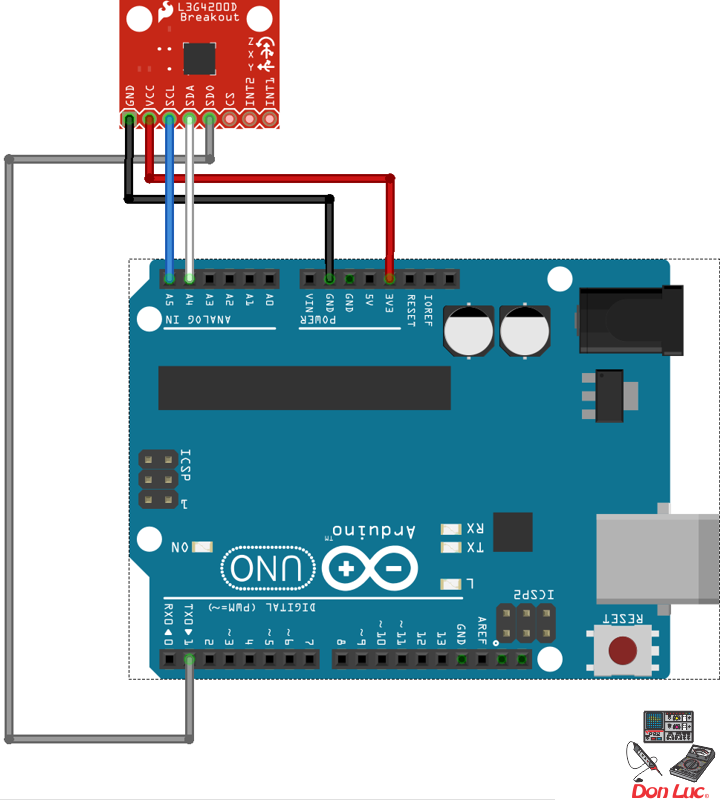
Fritzing: L3G4200D – Arduino UNO
Don Luc

The Alpha Geek – Geeking Out
Fritzing: L3G4200D – Arduino UNO
Don Luc
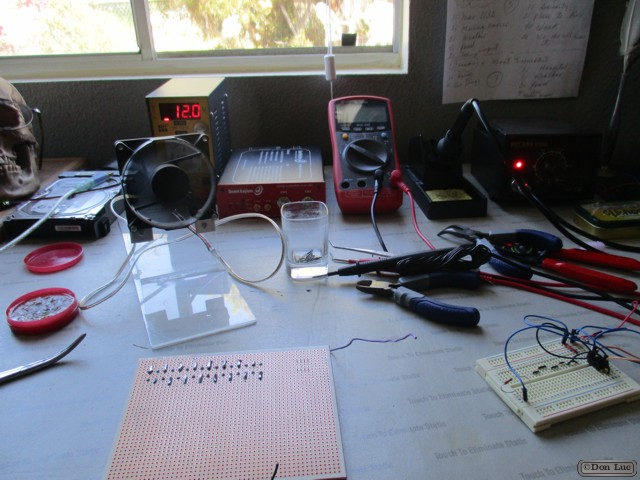
We had one of those very stressful years running around the house trying to accomplish a lot of tasks and working on a lot of new things. This did not give me even a few free minutes to post the blog.
There has been a flurry of activity around here in the past week as we are preparing for a launch later this week or next a bunch of new features for the blog and the site. I think that you will like what we have planned and I am working out the details as we speak, and wildly programming all the features so they work perfectly from day one. Please watch for a formal announcement later this week or first thing next week. Today there will be a lot of short post to catch up with a dry years.
Don Luc
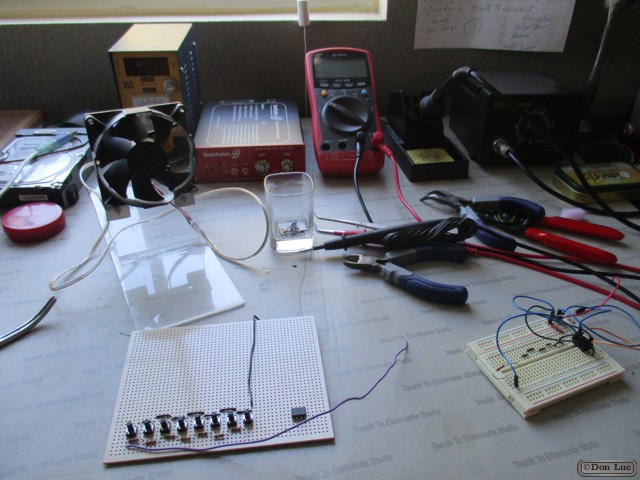
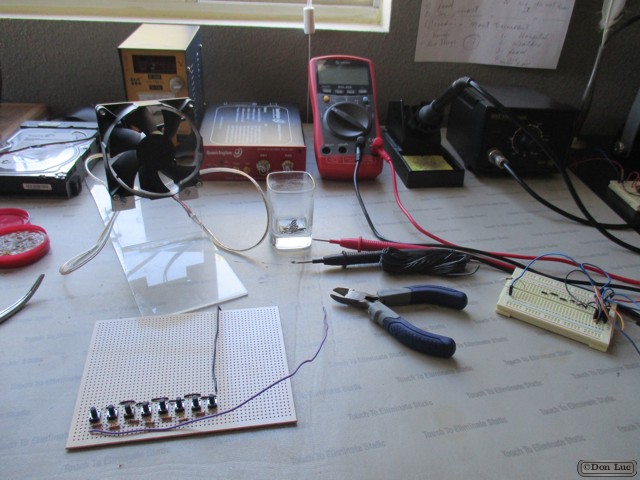
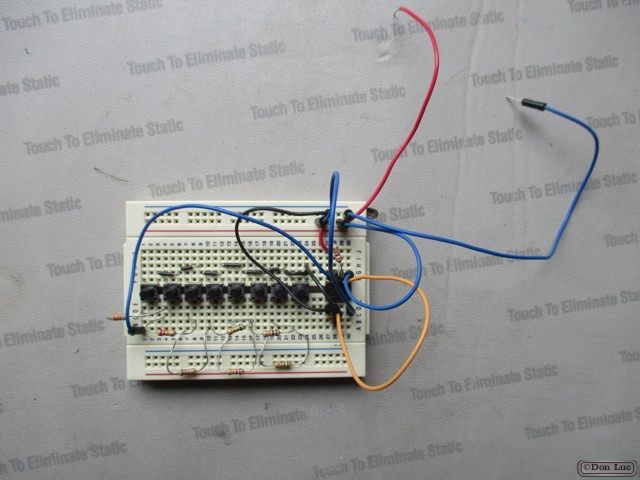
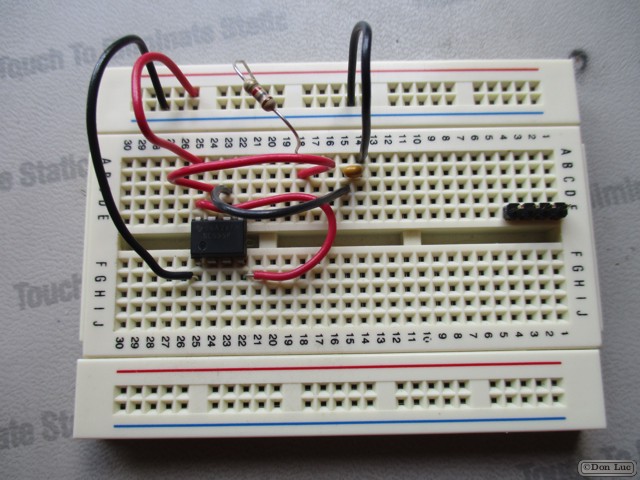
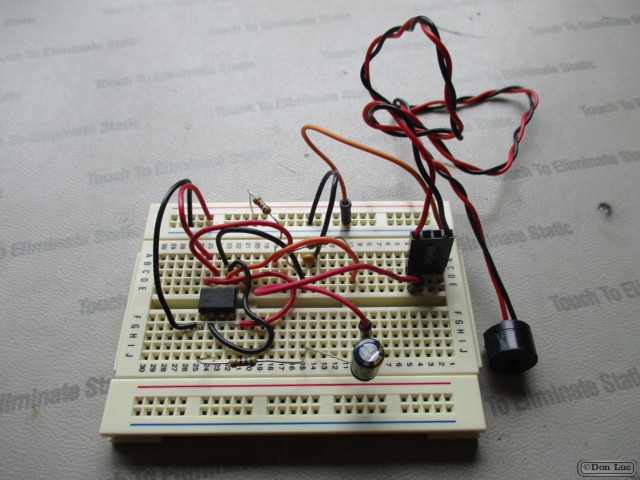
1 X Breadboard
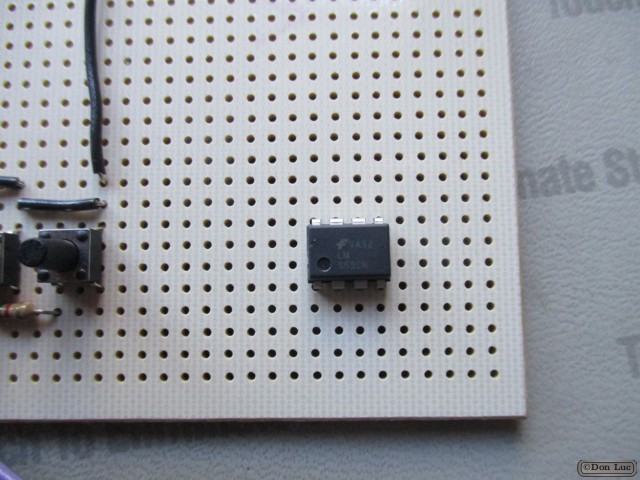
1 X NE555
1 X 1.4 kOhm
1 X 9.3 kOhm
1 X 11 kOhm
1 X 14 kOhm
1 X 18 kOhm
1 X 22 kOhm
1 X 28 kOhm
1 X 33 kOhm
1 X 26 kOhm
1 X Capacitor Ceramic 0.1uF
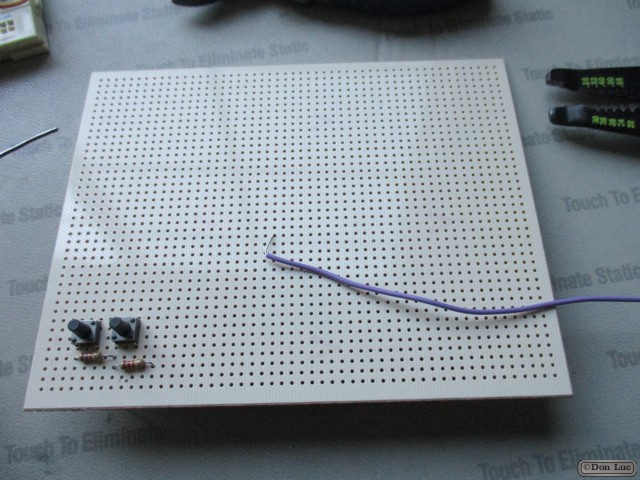
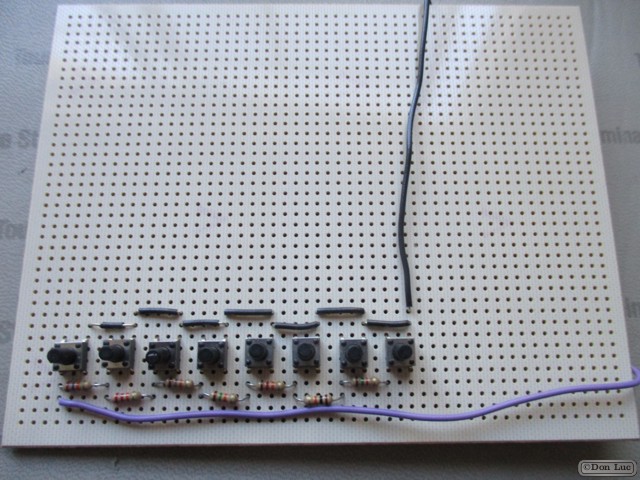
8 X Momentary Pushbutton Switch
18 X Jumper Wires Premium 3″ M/M
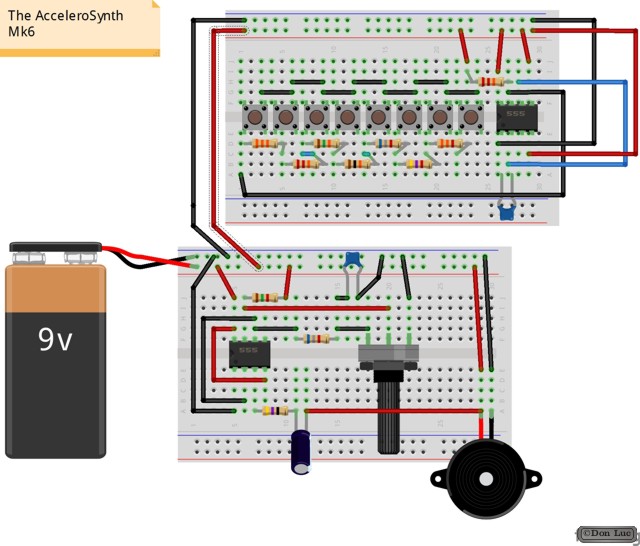
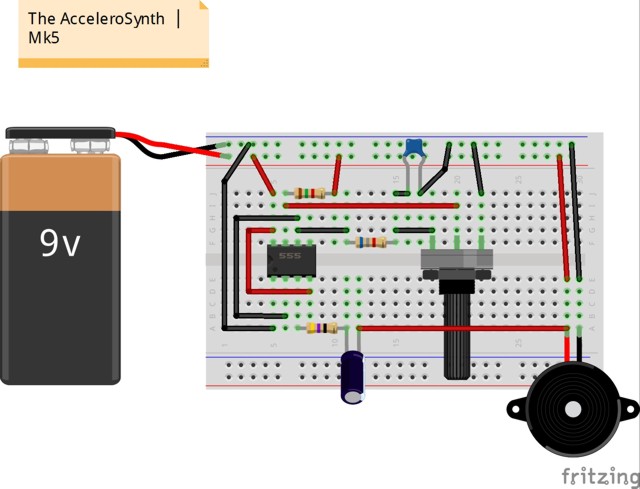
1 X The AcceleroSynth – Mk5
Don Luc
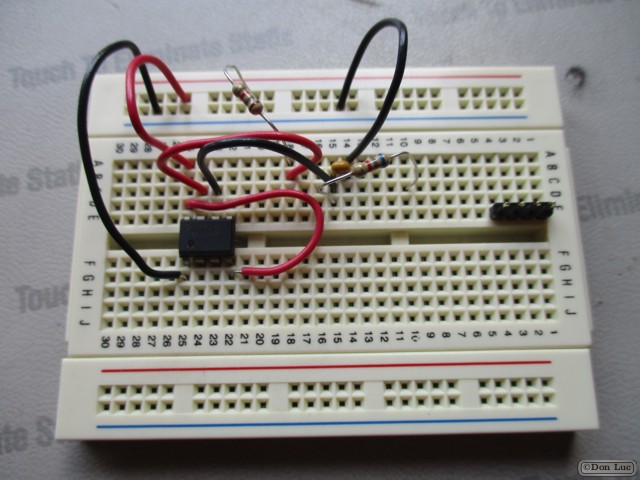
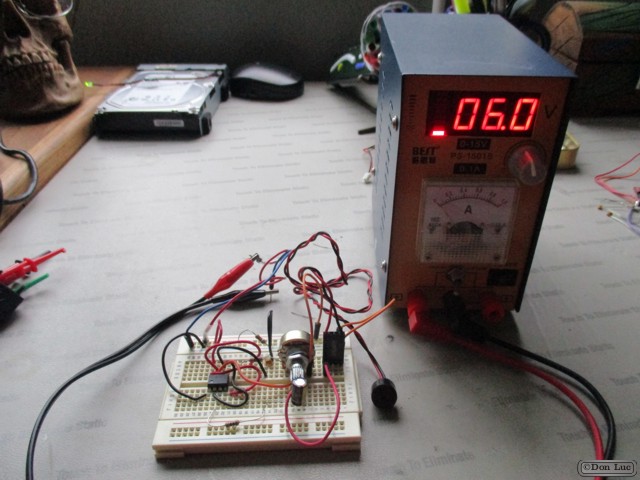
1 X Breadboard
1 X NE555
1 X Panel Mount 100K potentiometer – 100K Linear
1 X 51 Ohm
1 X 1 kOhm
1 X 6.8 kOhm
1 X Electrolytic Decoupling Capacitors – 100uF/25V
1 X Capacitor Ceramic 0.1uF
1 X Speaker
15 X Jumper Wires Premium 3″ M/M
1 X Battery 9V
Don Luc
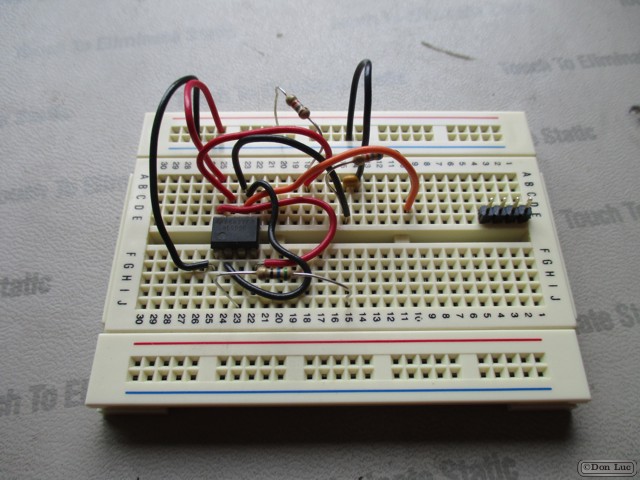
1 X Breadboard
1 X NE555
1 X 1.4 kOhm
1 X 9.3 kOhm
1 X 11 kOhm
1 X 14 kOhm
1 X 18 kOhm
1 X 22 kOhm
1 X 28 kOhm
1 X 33 kOhm
1 X 26 kOhm
1 X Capacitor Ceramic 0.1uF
8 X Momentary Pushbutton Switch
18 X Jumper Wires Premium 3″ M/M
1 X The AcceleroSynth – Mk5
Don Luc
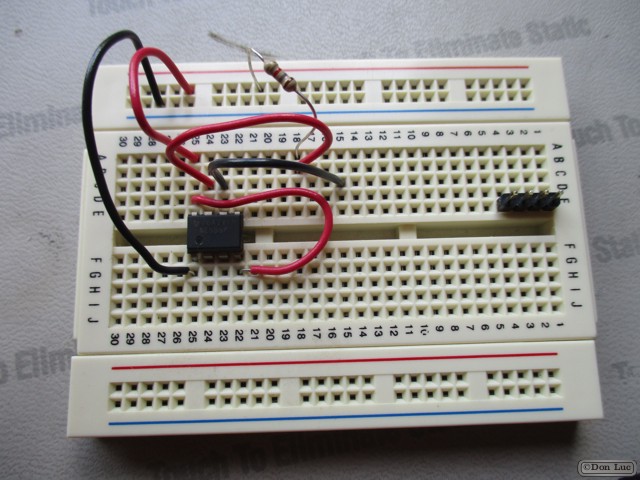


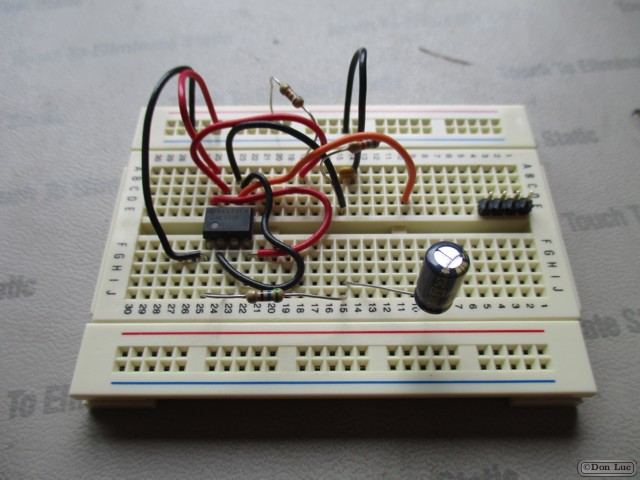
1 X Breadboard
1 X NE555
1 X Panel Mount 100K potentiometer – 100K Linear
1 X 51 Ohm
1 X 1 kOhm
1 X 6.8 kOhm
1 X Electrolytic Decoupling Capacitors – 100uF/25V
1 X Capacitor Ceramic 0.1uF
1 X Speaker
15 X Jumper Wires Premium 3″ M/M
1 X Regulated 0-15 VDC Power Supply
Don Luc
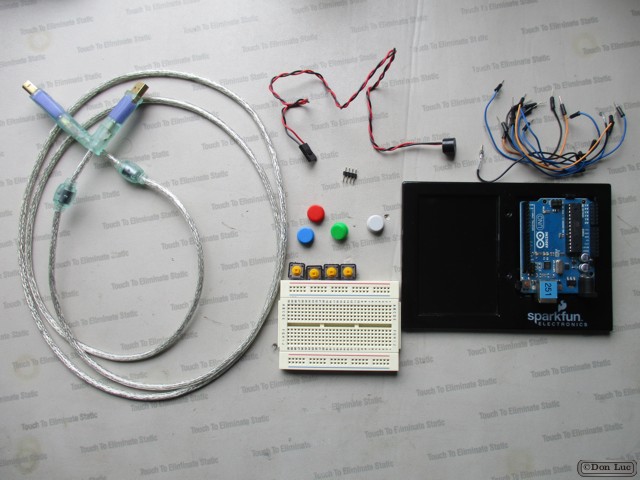
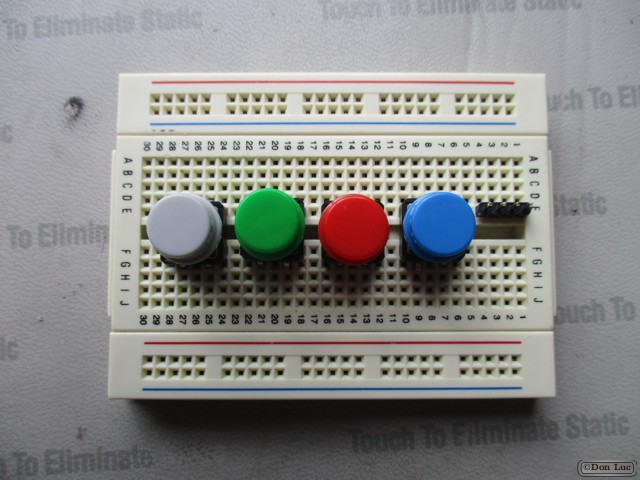
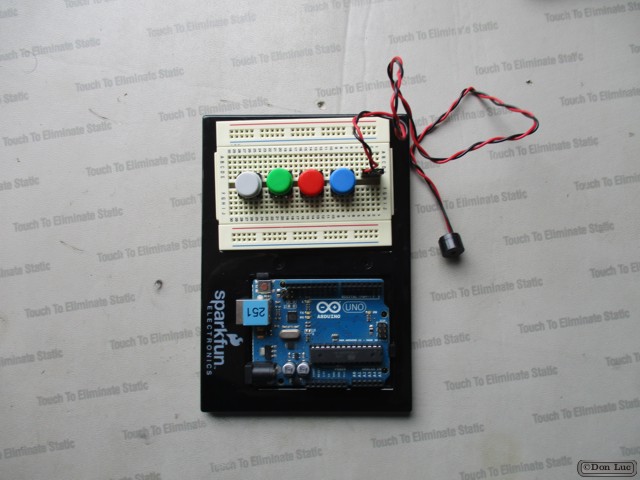
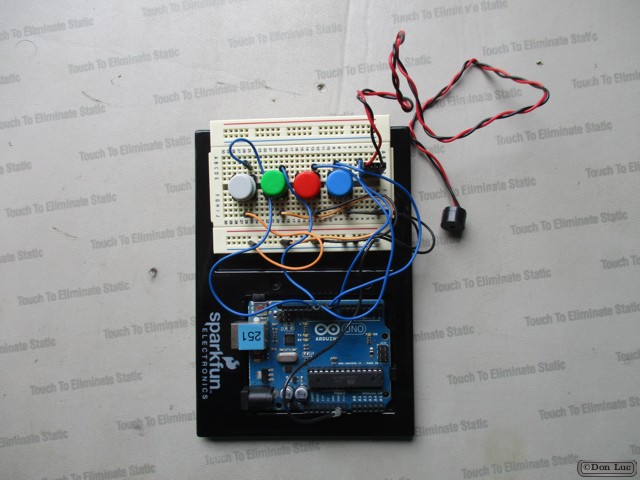
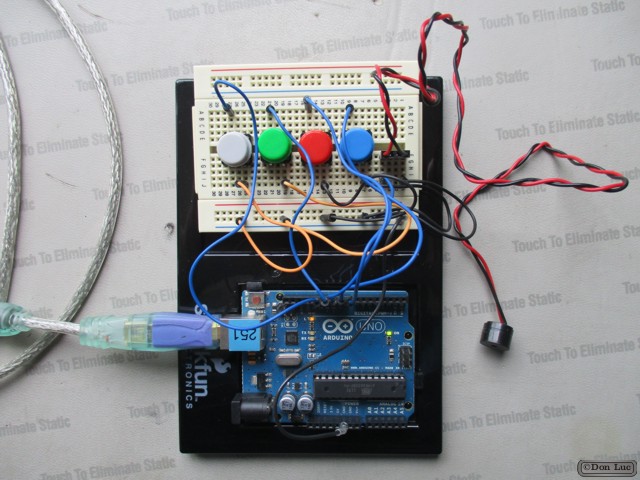
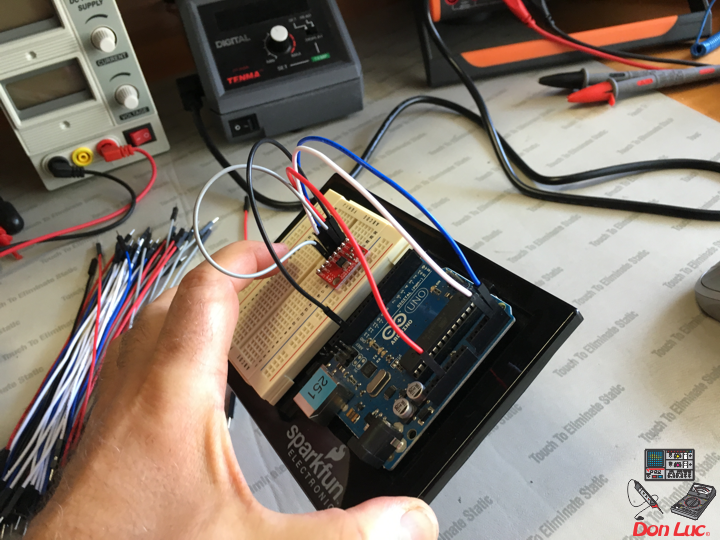
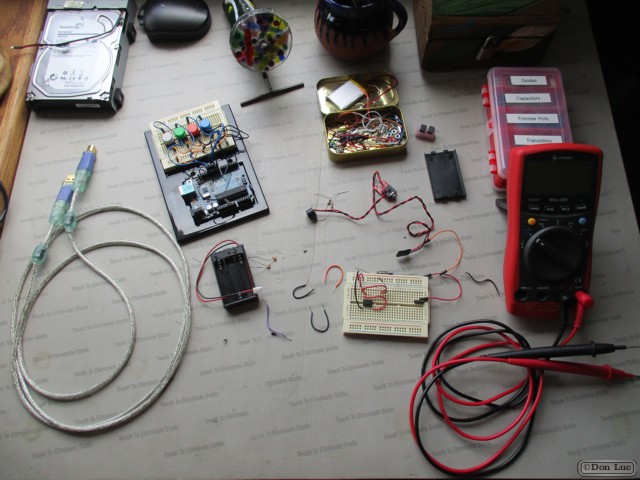
1 X Arduino and Breadboard Holder
1 X Breadboard
1 X Arduino UNO Rev3
1 X Speaker
11 X Jumper Wires Premium 3″ M/M
4 X Colorful Round Tactile Button Switch
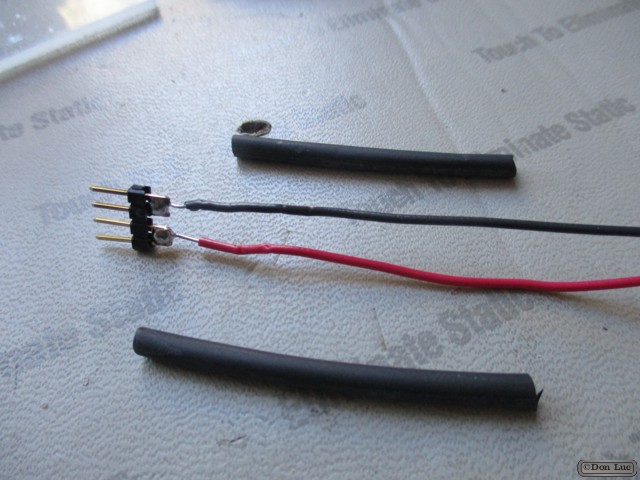
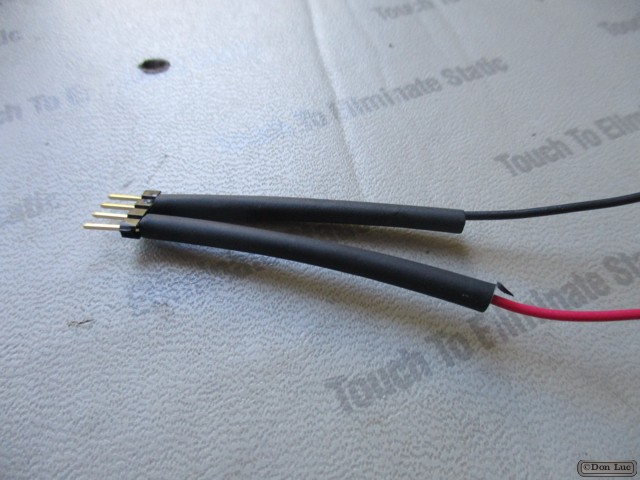
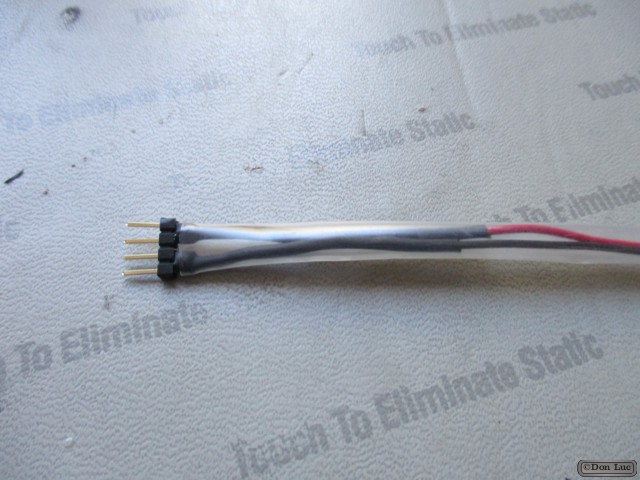
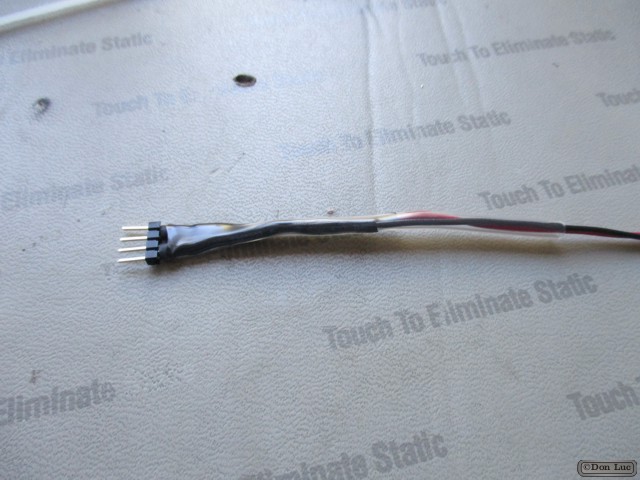
1 X Cable
AcceleroSynthMk4.1.ino
// ***** Don Luc *****
// Software Version Information
// 4.1 Switch

// Which pin on the Arduino is connected pin 8?
// 8-ohm speaker
#define tonePIN 8
// Switch

int switchPin1 = 9;
int switchPin2 = 10;
int switchPin3 = 11;
int switchPin4 = 12;

boolean running = false;

// Pitches
#include "pitches.h"

void loop() {

  if (digitalRead(switchPin1) == LOW)
  {  // switch is pressed - pullup keeps pin high normally
    delay(100);                        // delay to debounce switch
    running = !running;                // toggle running variable
    tone(tonePIN, NOTE_C4, 100);
  }

  if (digitalRead(switchPin2) == LOW)
  {  // switch is pressed - pullup keeps pin high normally
    delay(100);                        // delay to debounce switch
    running = !running;                // toggle running variable
    tone(tonePIN, NOTE_D4, 100);
  }

  if (digitalRead(switchPin3) == LOW)
  {  // switch is pressed - pullup keeps pin high normally
    delay(100);                        // delay to debounce switch
    running = !running;                // toggle running variable
    tone(tonePIN, NOTE_E4, 100);
  }

  if (digitalRead(switchPin4) == LOW)
  {  // switch is pressed - pullup keeps pin high normally
    delay(100);                        // delay to debounce switch
    running = !running;                // toggle running variable
    tone(tonePIN, NOTE_F4, 100);
  }

}
pitches.h
{
/*************************************************
 * Public Constants
 *************************************************/

#define NOTE_B0  31
#define NOTE_C1  33
#define NOTE_CS1 35
#define NOTE_D1  37
#define NOTE_DS1 39
#define NOTE_E1  41
#define NOTE_F1  44
#define NOTE_FS1 46
#define NOTE_G1  49
#define NOTE_GS1 52
#define NOTE_A1  55
#define NOTE_AS1 58
#define NOTE_B1  62
#define NOTE_C2  65
#define NOTE_CS2 69
#define NOTE_D2  73
#define NOTE_DS2 78
#define NOTE_E2  82
#define NOTE_F2  87
#define NOTE_FS2 93
#define NOTE_G2  98
#define NOTE_GS2 104
#define NOTE_A2  110
#define NOTE_AS2 117
#define NOTE_B2  123
#define NOTE_C3  131
#define NOTE_CS3 139
#define NOTE_D3  147
#define NOTE_DS3 156
#define NOTE_E3  165
#define NOTE_F3  175
#define NOTE_FS3 185
#define NOTE_G3  196
#define NOTE_GS3 208
#define NOTE_A3  220
#define NOTE_AS3 233
#define NOTE_B3  247
#define NOTE_C4  262
#define NOTE_CS4 277
#define NOTE_D4  294
#define NOTE_DS4 311
#define NOTE_E4  330
#define NOTE_F4  349
#define NOTE_FS4 370
#define NOTE_G4  392
#define NOTE_GS4 415
#define NOTE_A4  440
#define NOTE_AS4 466
#define NOTE_B4  494
#define NOTE_C5  523
#define NOTE_CS5 554
#define NOTE_D5  587
#define NOTE_DS5 622
#define NOTE_E5  659
#define NOTE_F5  698
#define NOTE_FS5 740
#define NOTE_G5  784
#define NOTE_GS5 831
#define NOTE_A5  880
#define NOTE_AS5 932
#define NOTE_B5  988
#define NOTE_C6  1047
#define NOTE_CS6 1109
#define NOTE_D6  1175
#define NOTE_DS6 1245
#define NOTE_E6  1319
#define NOTE_F6  1397
#define NOTE_FS6 1480
#define NOTE_G6  1568
#define NOTE_GS6 1661
#define NOTE_A6  1760
#define NOTE_AS6 1865
#define NOTE_B6  1976
#define NOTE_C7  2093
#define NOTE_CS7 2217
#define NOTE_D7  2349
#define NOTE_DS7 2489
#define NOTE_E7  2637
#define NOTE_F7  2794
#define NOTE_FS7 2960
#define NOTE_G7  3136
#define NOTE_GS7 3322
#define NOTE_A7  3520
#define NOTE_AS7 3729
#define NOTE_B7  3951
#define NOTE_C8  4186
#define NOTE_CS8 4435
#define NOTE_D8  4699
#define NOTE_DS8 4978

}
setup.ino
void setup() {

  // Switch
  pinMode(switchPin1, INPUT);
  digitalWrite(switchPin1, HIGH);      // turn on pullup resistor
  pinMode(switchPin2, INPUT);
  digitalWrite(switchPin2, HIGH);      // turn on pullup resistor
  pinMode(switchPin3, INPUT);
  digitalWrite(switchPin3, HIGH);      // turn on pullup resistor
  pinMode(switchPin4, INPUT);
  digitalWrite(switchPin4, HIGH);      // turn on pullup resistor

}

Don Luc