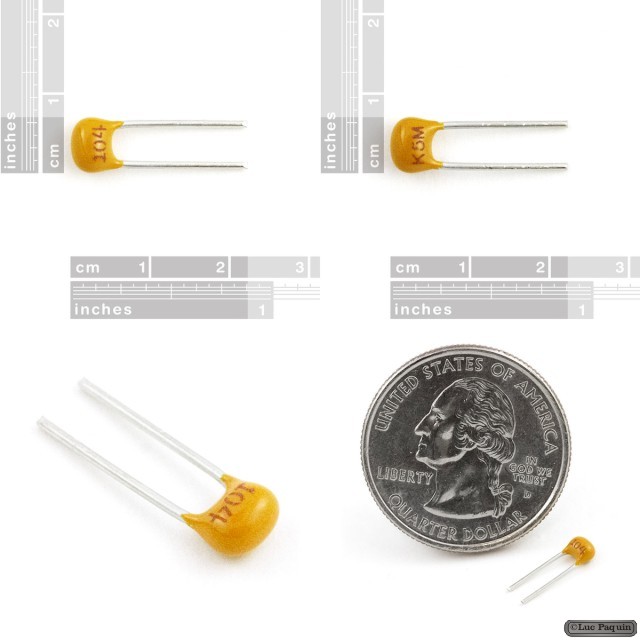
SparkFun: COM-08375
Description: This is a very common 0.1uF capacitor. Used on all sorts of applications to decouple ICs from power supplies. 0.1″ spaced leads make this a perfect candidate for breadboarding and perf boarding. Rated at 50V.
Don Luc

The Alpha Geek – Geeking Out
Microcontrollers
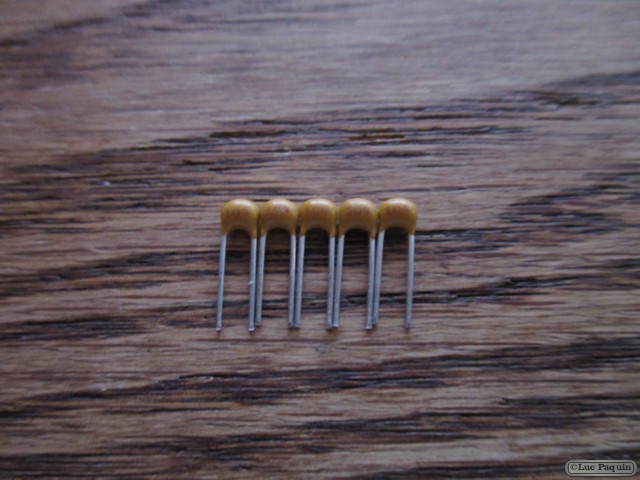
SparkFun: COM-08375
Description: This is a very common 0.1uF capacitor. Used on all sorts of applications to decouple ICs from power supplies. 0.1″ spaced leads make this a perfect candidate for breadboarding and perf boarding. Rated at 50V.
Don Luc
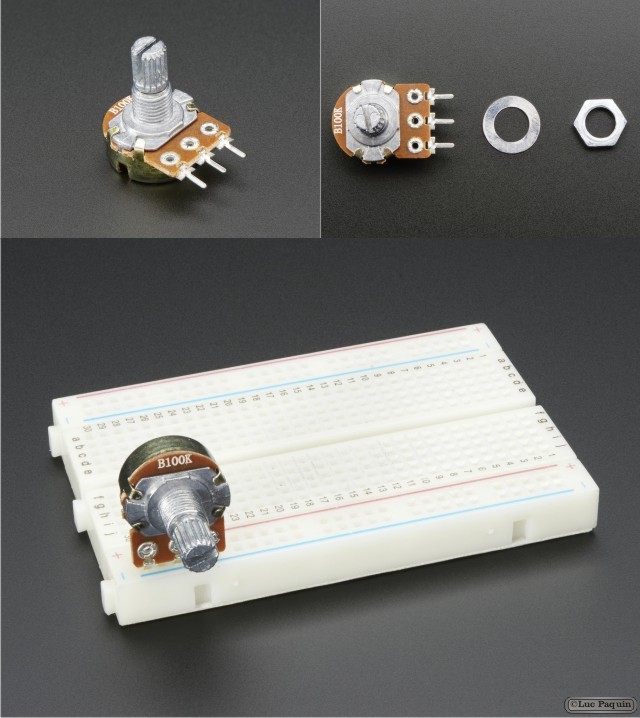
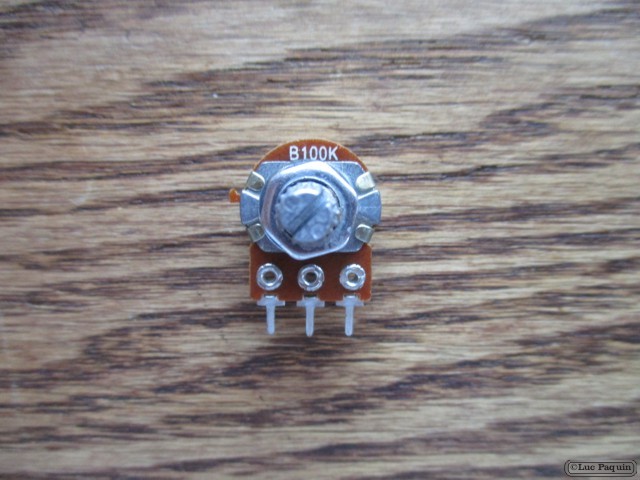
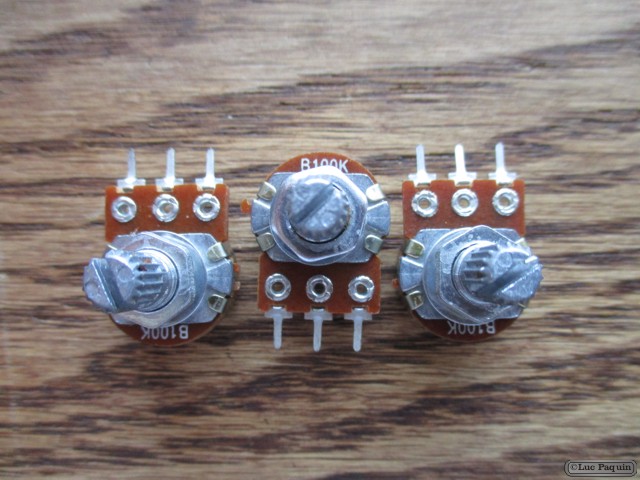
Adafruit: 1831
Description
This potentiometer is a two-in-one, good in a breadboard or with a panel. Its a fairly standard linear taper 100K ohm potentiometer, with a grippy shaft. Its smooth and easy to turn, but not so loose that it will shift on its own. We like this one because the legs are 0.2″ apart with pin-points, so you can plug it into a breadboard or perfboard. Once you’re done prototyping, you can drill a hole into your project box and mount the potentiometer that way.
Technical Details
Dimensions:
Don Luc
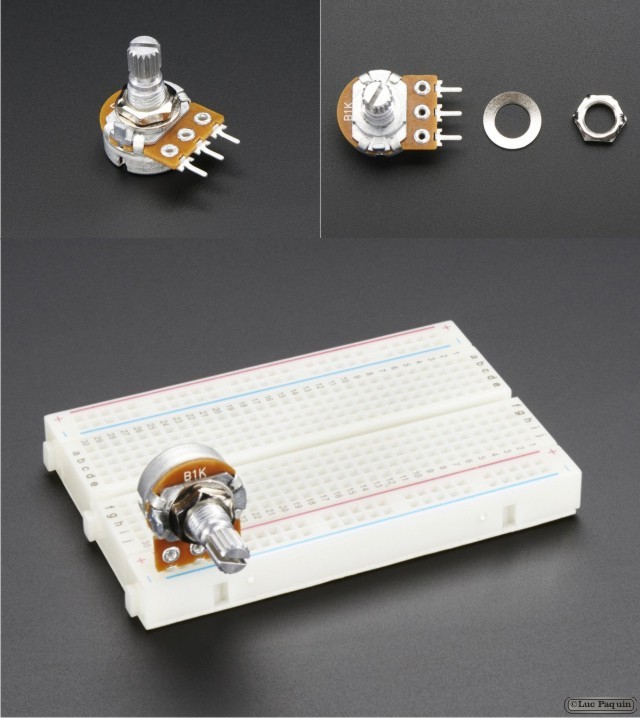

Adafruit: 1789
Description
This 1K potentiometer is a two-in-one, good in a breadboard or with a panel. Its a fairly standard linear taper 1K ohm potentiometer, with a grippy shaft. Its smooth and easy to turn, but not so loose that it will shift on its own. We like this one because the legs are 0.2″ apart with pin-points, so you can plug it into a breadboard or perfboard. Once you’re done prototyping, you can drill a hole into your project box and mount the potentiometer that way.
Technical Details
Don Luc
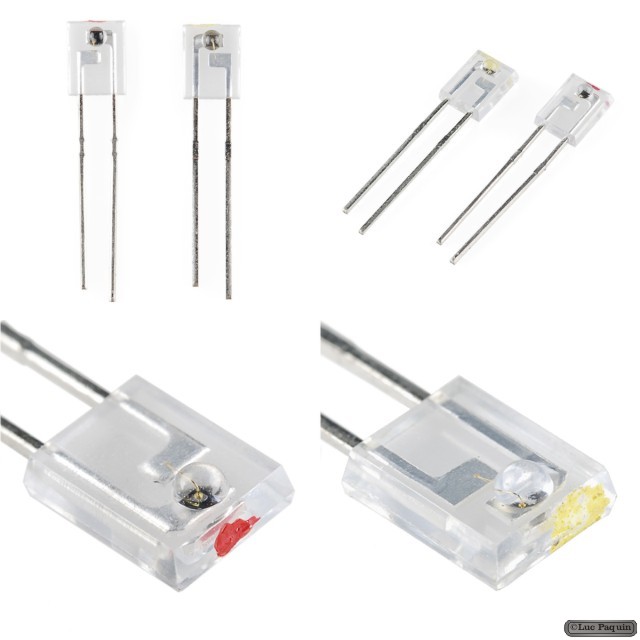
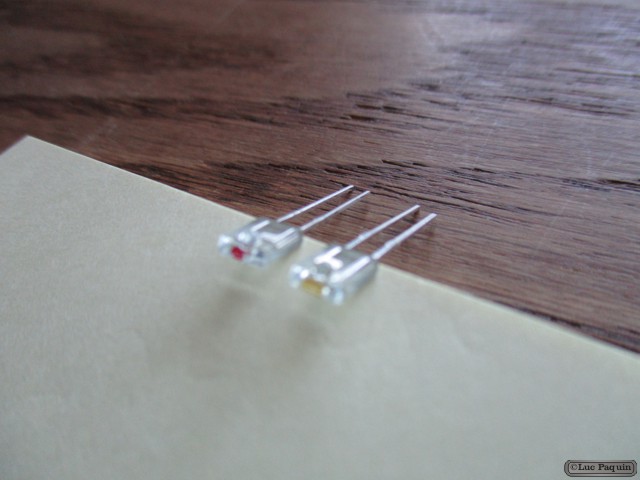
SparkFun: SEN-00241
Description: Side-looking Infrared Emitters and IR Detectors. These simple devices operate at 940nm and work well for generic IR systems including remote control and touch-less object sensing. Using a simple ADC on any microcontroller will allow variable readings to be collected from the detector. The emitter is driven up to 50mA with a current limiting resistor as with any LED device. The detect is a NPN transistor that is biased by incoming IR light.
Don Luc
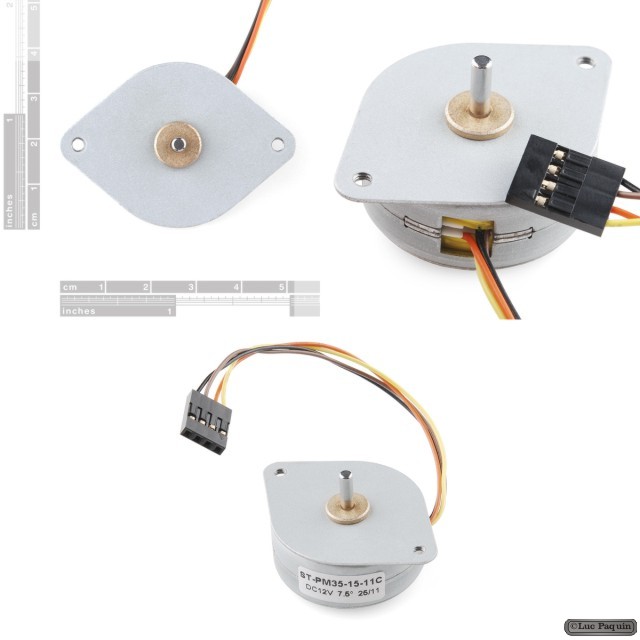
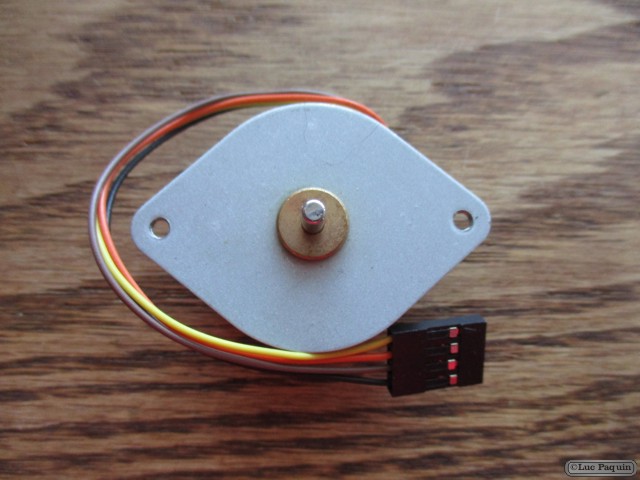
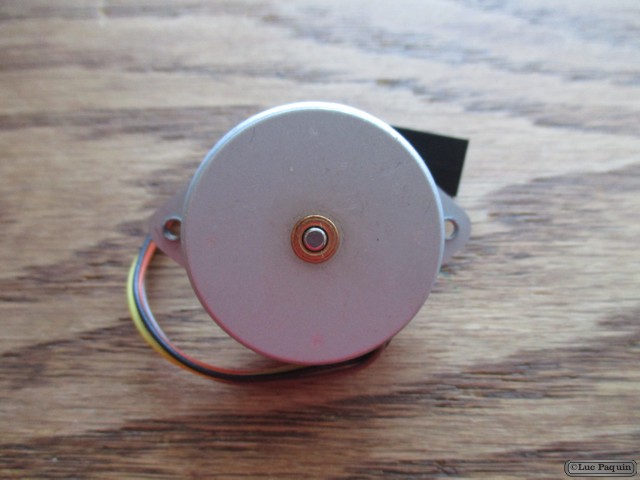
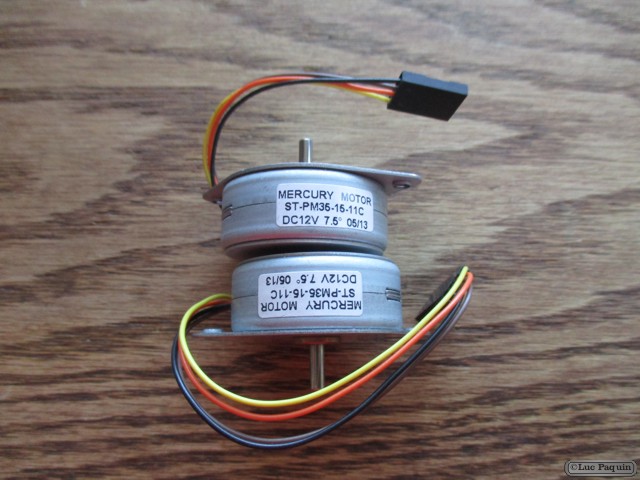
SparkFun: ROB-10551
Description: These small steppers are a great way to get things moving, especially when positioning and repeatability is a concern.
When using a current limiting driver such as the Easydriver or Big Easydriver, a 12 volt power supply can be used as long as you adjust the current level to 400mA or less. If using a non current limited driver (like a L293D or an H-bridge) you will need to lower your input voltage to keep the motor current below 400mA.
This is a Bipolar motor.
Features:
Don Luc
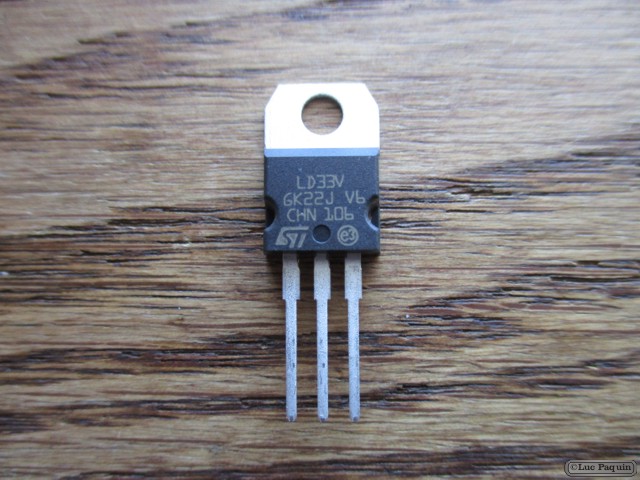

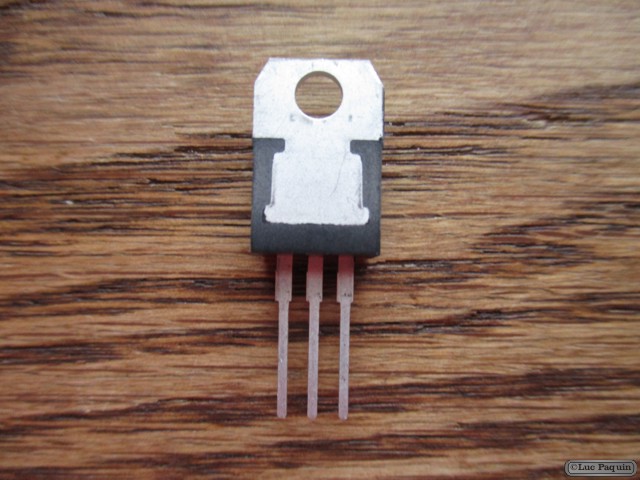
SparkFun: COM-00526
Description: This is the basic LD33V voltage regulator, a low drop positive regulator with a 3.3V fixed output voltage. This fixed regulator provides a great amount of stability and protection for your project and with its on ship trimming this regulator is able to reach an output voltage tolerance within ±1%. Each one of these voltage regulators can output a max current of 800mA.
Features:
Don Luc
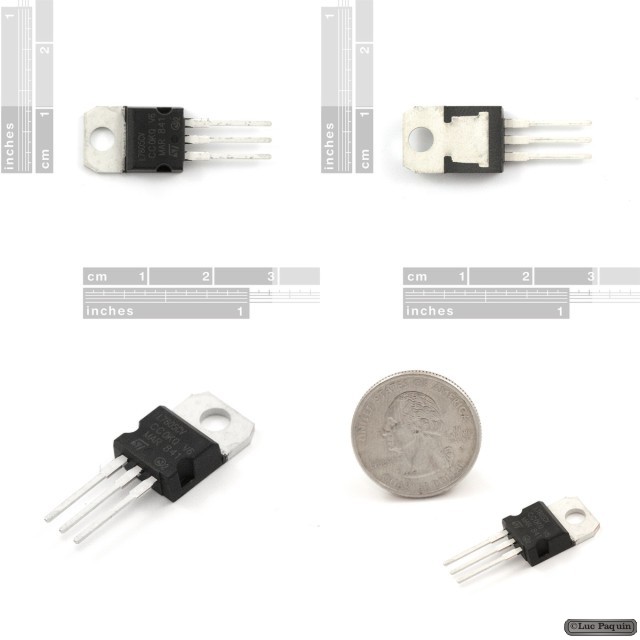
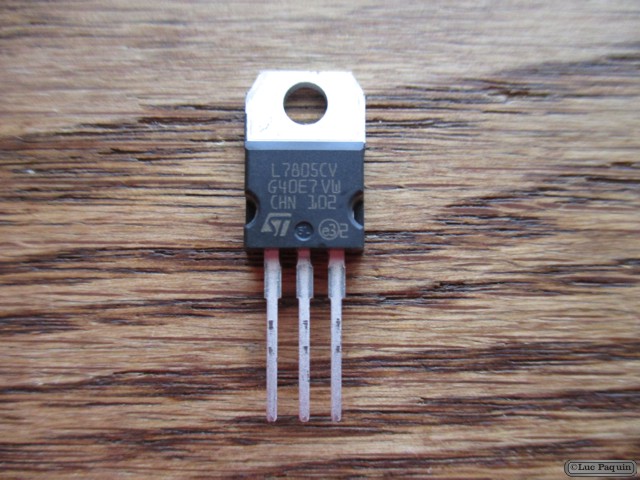
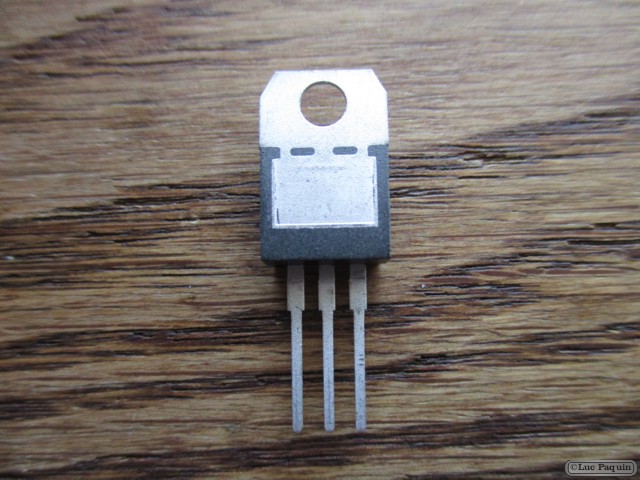
SparkFun: COM-00107
Description: This is the basic L7805 voltage regulator, a three-terminal positive regulator with a 5V fixed output voltage. This fixed regulator provides a local regulation, internal current limiting, thermal shut-down control, and safe area protection for your project. Each one of these voltage regulators can output a max current of 1.5A.
Features:
Don Luc
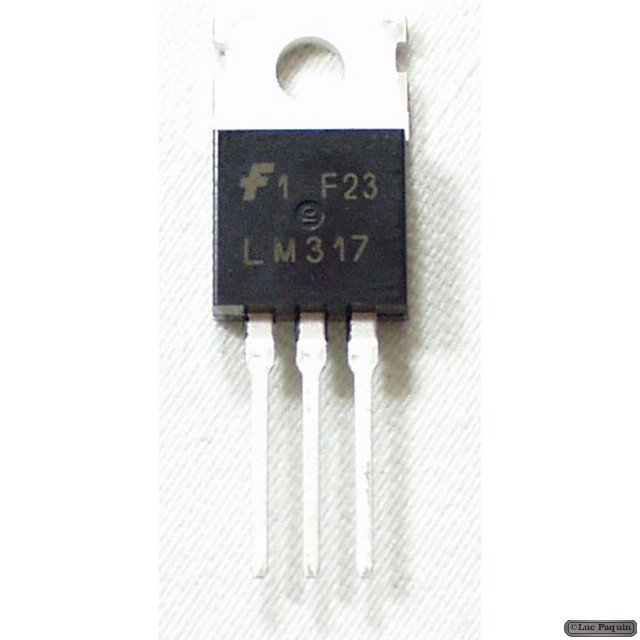
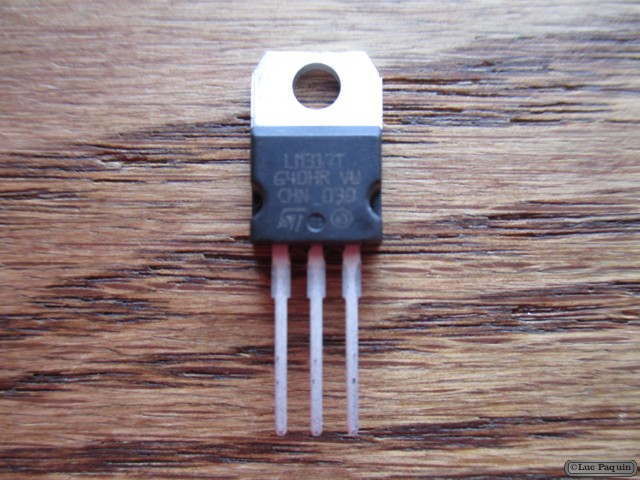
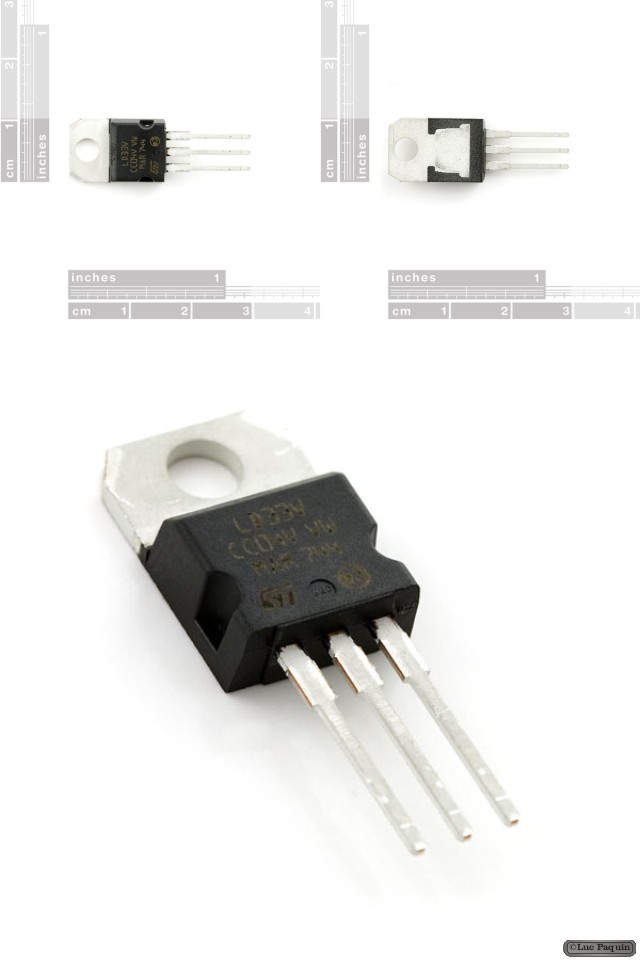
SparkFun: COM-00527
Description: This is the LM317TG voltage regulator, a three-terminal positive regulator with a 1.2V to 37V adjustable output voltage. This adjustable regulator provides a local regulation, internal current limiting, thermal shut-down control, and safe area protection for your project. Did we mention that this guy is easy to use? It only requires two external resistors to set the output voltage. Each one of these voltage regulators can output a max current of 1.5A.
Features:
Don Luc
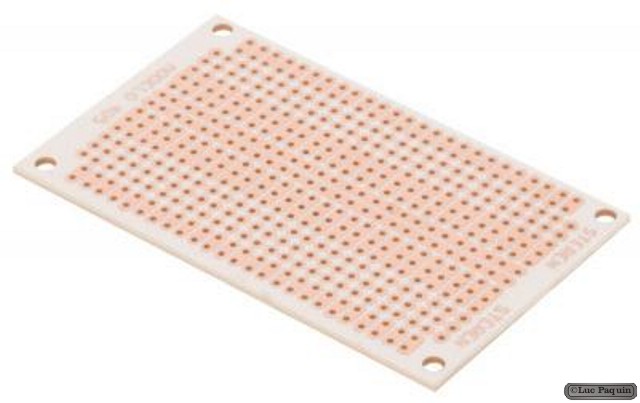
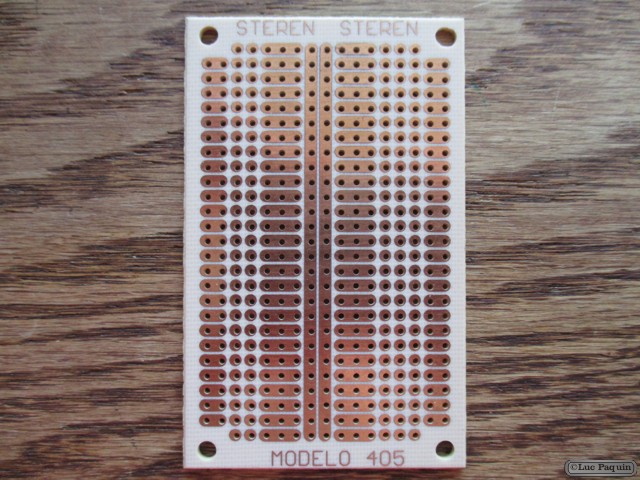
Steren: 405
Description: Phenolic bakelite plate with copper, 7.5 x 4.5 cm, recorded and perforated with 98 tracks, 125 components and 4 holes for fixing the plate. Ideal for projects or prototypes.
Don Luc
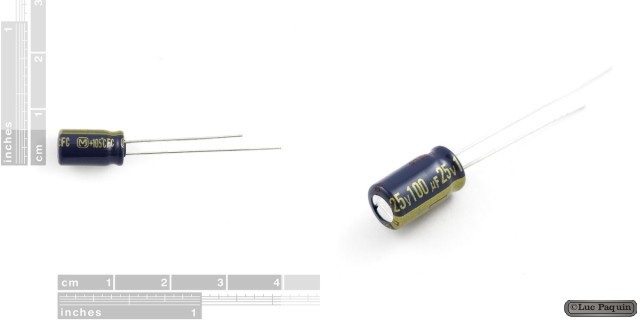
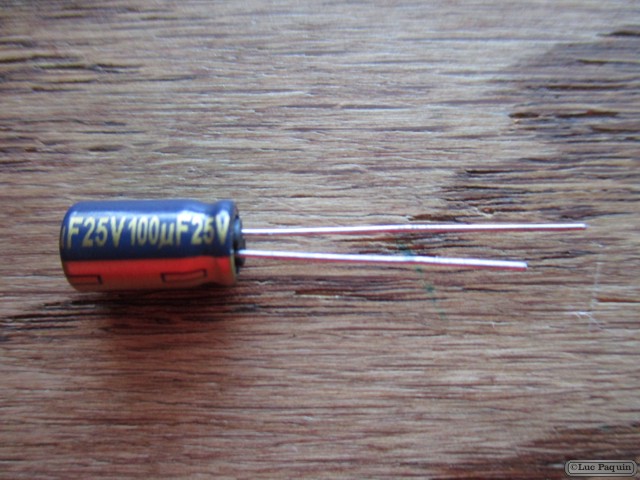
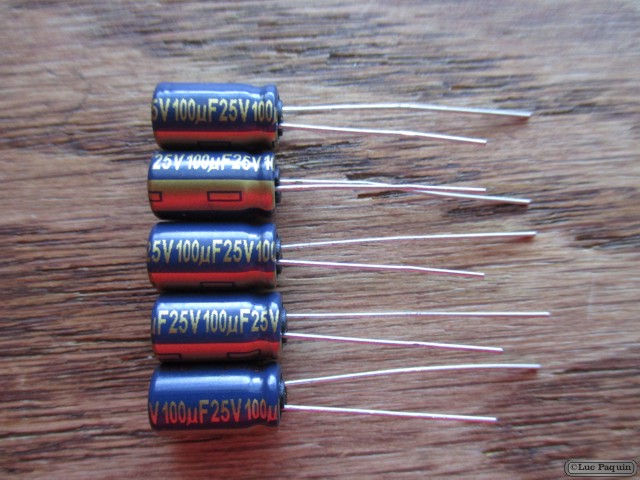
SparkFun: COM-00096
Description: Electrolytic decoupling capacitors 100uF/25V. These capacitors are great transient/surge suppressors. Attach one between the power and ground of your project to ensure smooth power delivery. High quality radial electrolytic capacitors.
Don Luc