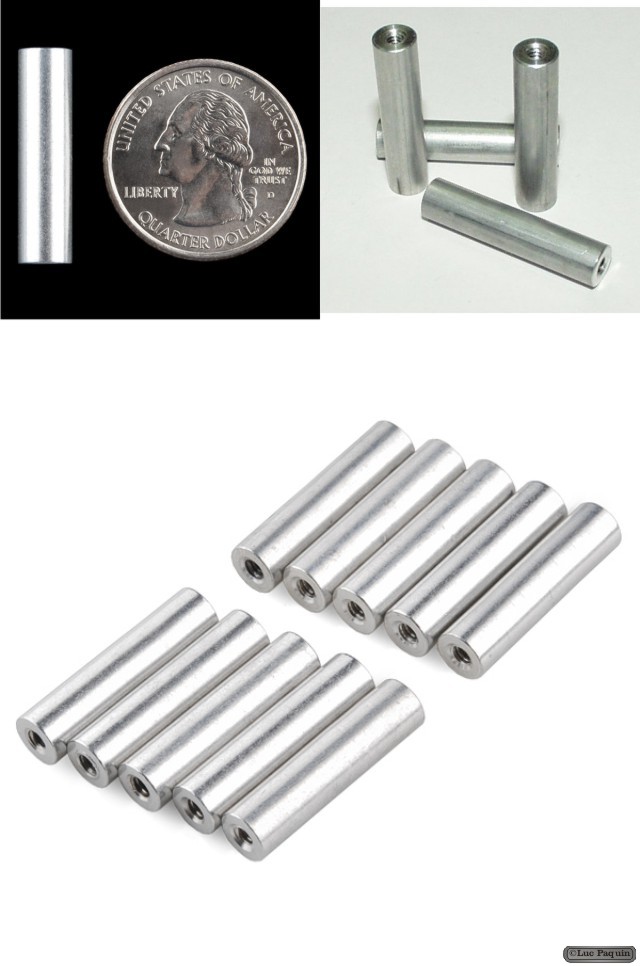
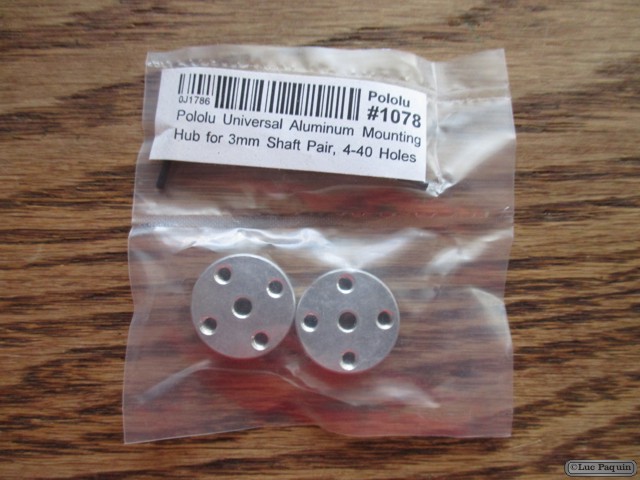
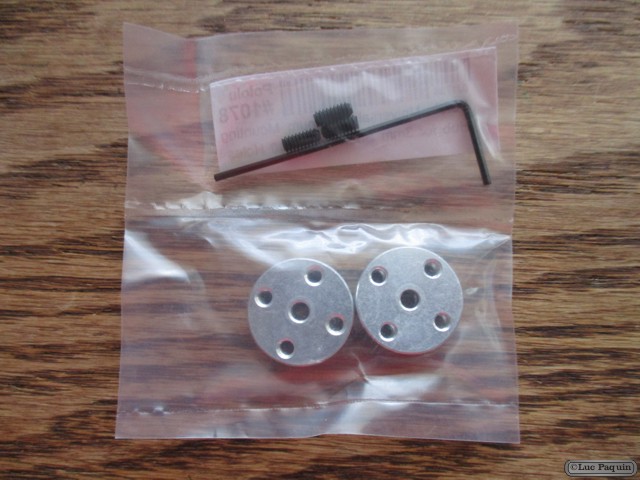
Pololu: 1078
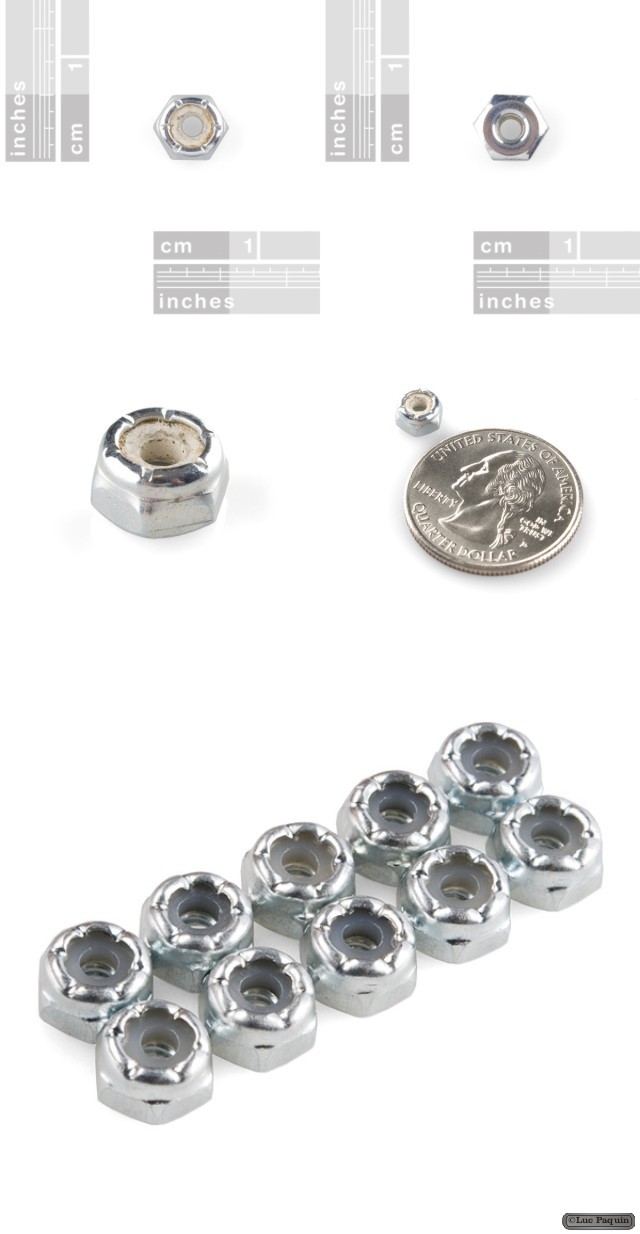
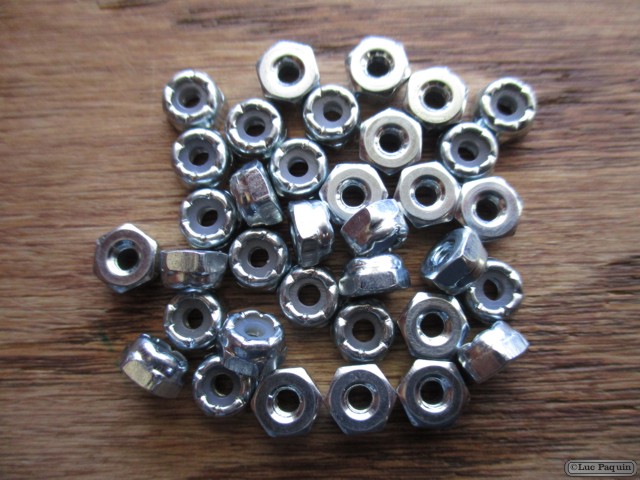
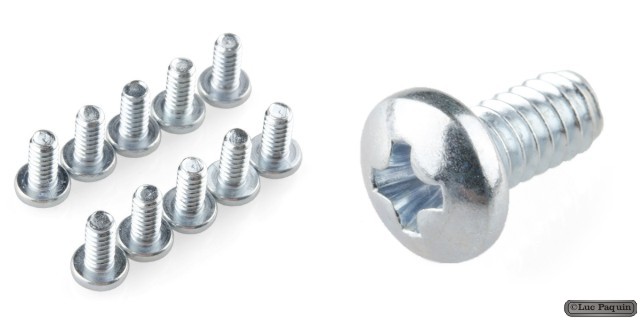
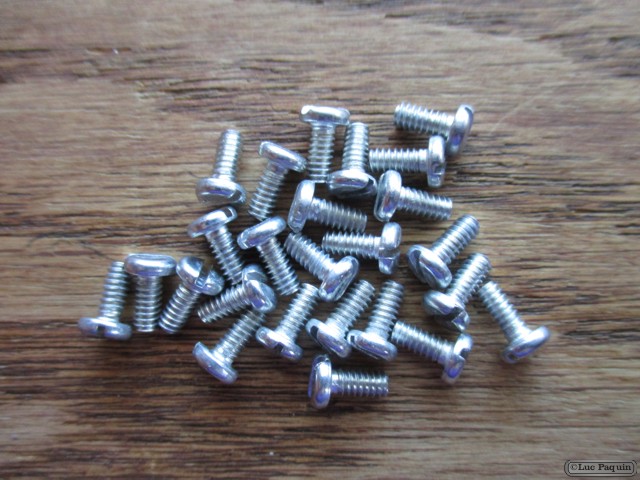
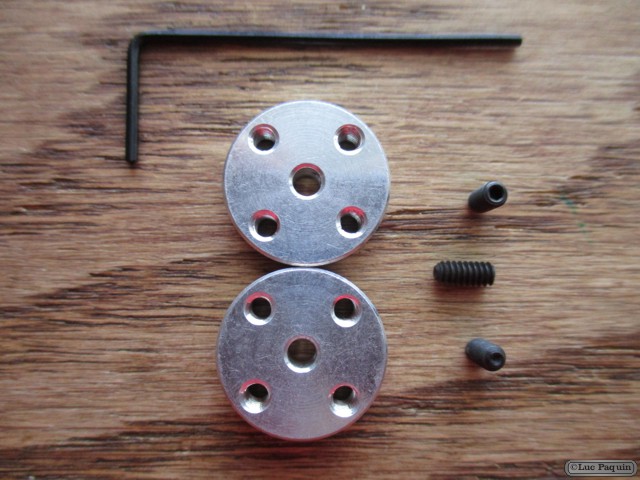
These universal aluminum mounting hubs allow you to mount custom wheels and mechanisms to 3 mm diameter motor shafts. The set includes two hubs, two #4-40 set screws for securing the hubs to motor shafts, and one 0.05? Allen wrench for use with the set screws. Each hub has four threaded mounting holes for #4-40 screws (not included).
We have an assortment of universal mounting hubs available, spanning several shaft sizes and featuring mounting holes threaded for metric or imperial screws: 3mm – #4-40
Description
These universal mounting hubs are designed to work with most 3 mm diameter shafts, including round shafts, “D” shafts, and Tamiya’s 3 mm hexagonal shafts. Each of the two included hubs has four mounting holes for #4-40 screws (not included), letting you mount custom wheels or mechanisms to your motors. The two included #4-40 hex set screws (one for each hub) allow secure coupling of shaft to hub, and a 0.05? hex wrench (often the smallest size in SAE Allen wrench sets) is included for use with the set screws. A dimension diagram of the hub is available under the resources tab.
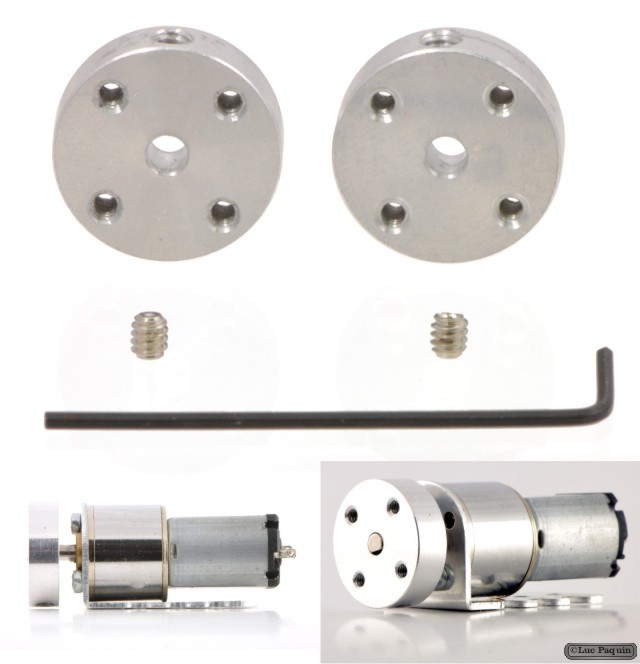
The picture to the right shows a hub with one of Pololu’s mini metal gearmotors and a Pololu mini metal gearmotor bracket. These hubs will work with any Pololu mini/15.5D mm metal gearmotor or micro metal gearmotor, and they also work with 60 mm, 70 mm, 80 mm, and 90 mm Pololu wheels.
- Size: 17.5 mm diameter × 5 mm thick
- Weight: 2.8 g
- Shaft diameter: 3 mm
- Mounting hole size: #4-40
Notes:
- For a single hub only (without set screw)
- This is also the size of the set screw
Don Luc